Setting up Mail on iOS
This guide will walk you through setting up mail on an iOS Device (iPhone/iPad/iPod)
This Guide assume you are using your WebHosting (cPanel, Direct Admin or similar service) to Send/Receive E-Mail and not Microsoft Exchange, Google Business, Yahoo Business etc..
Step-by-Step Instructions
Step 1: Settings
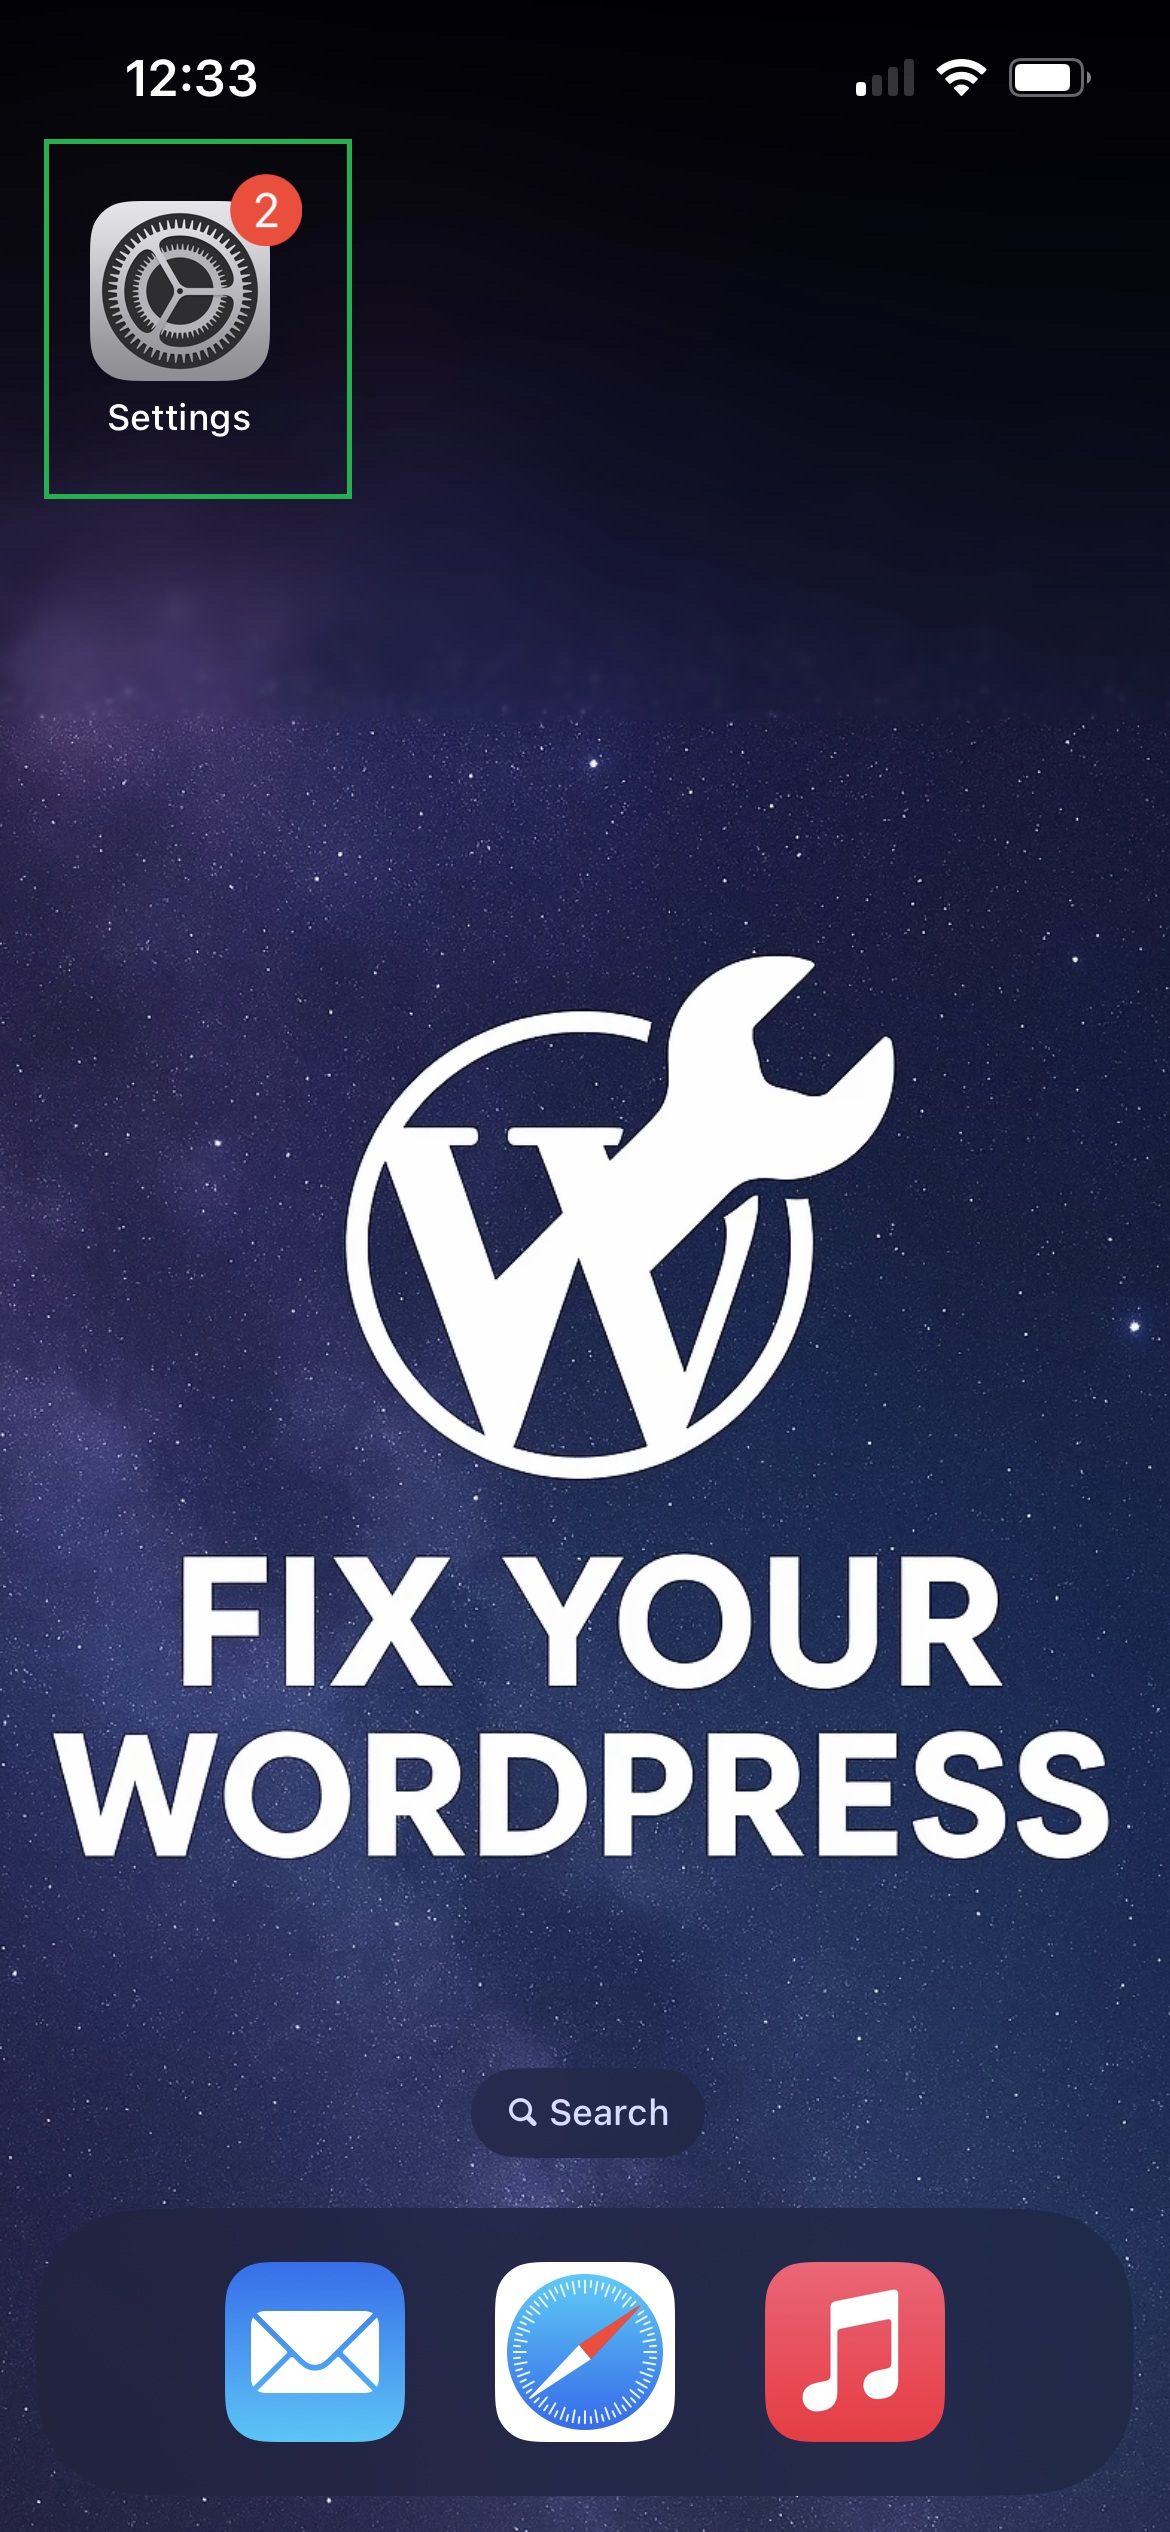
On your iOS Devices home screen open the Settings App.
Step 2: Apps
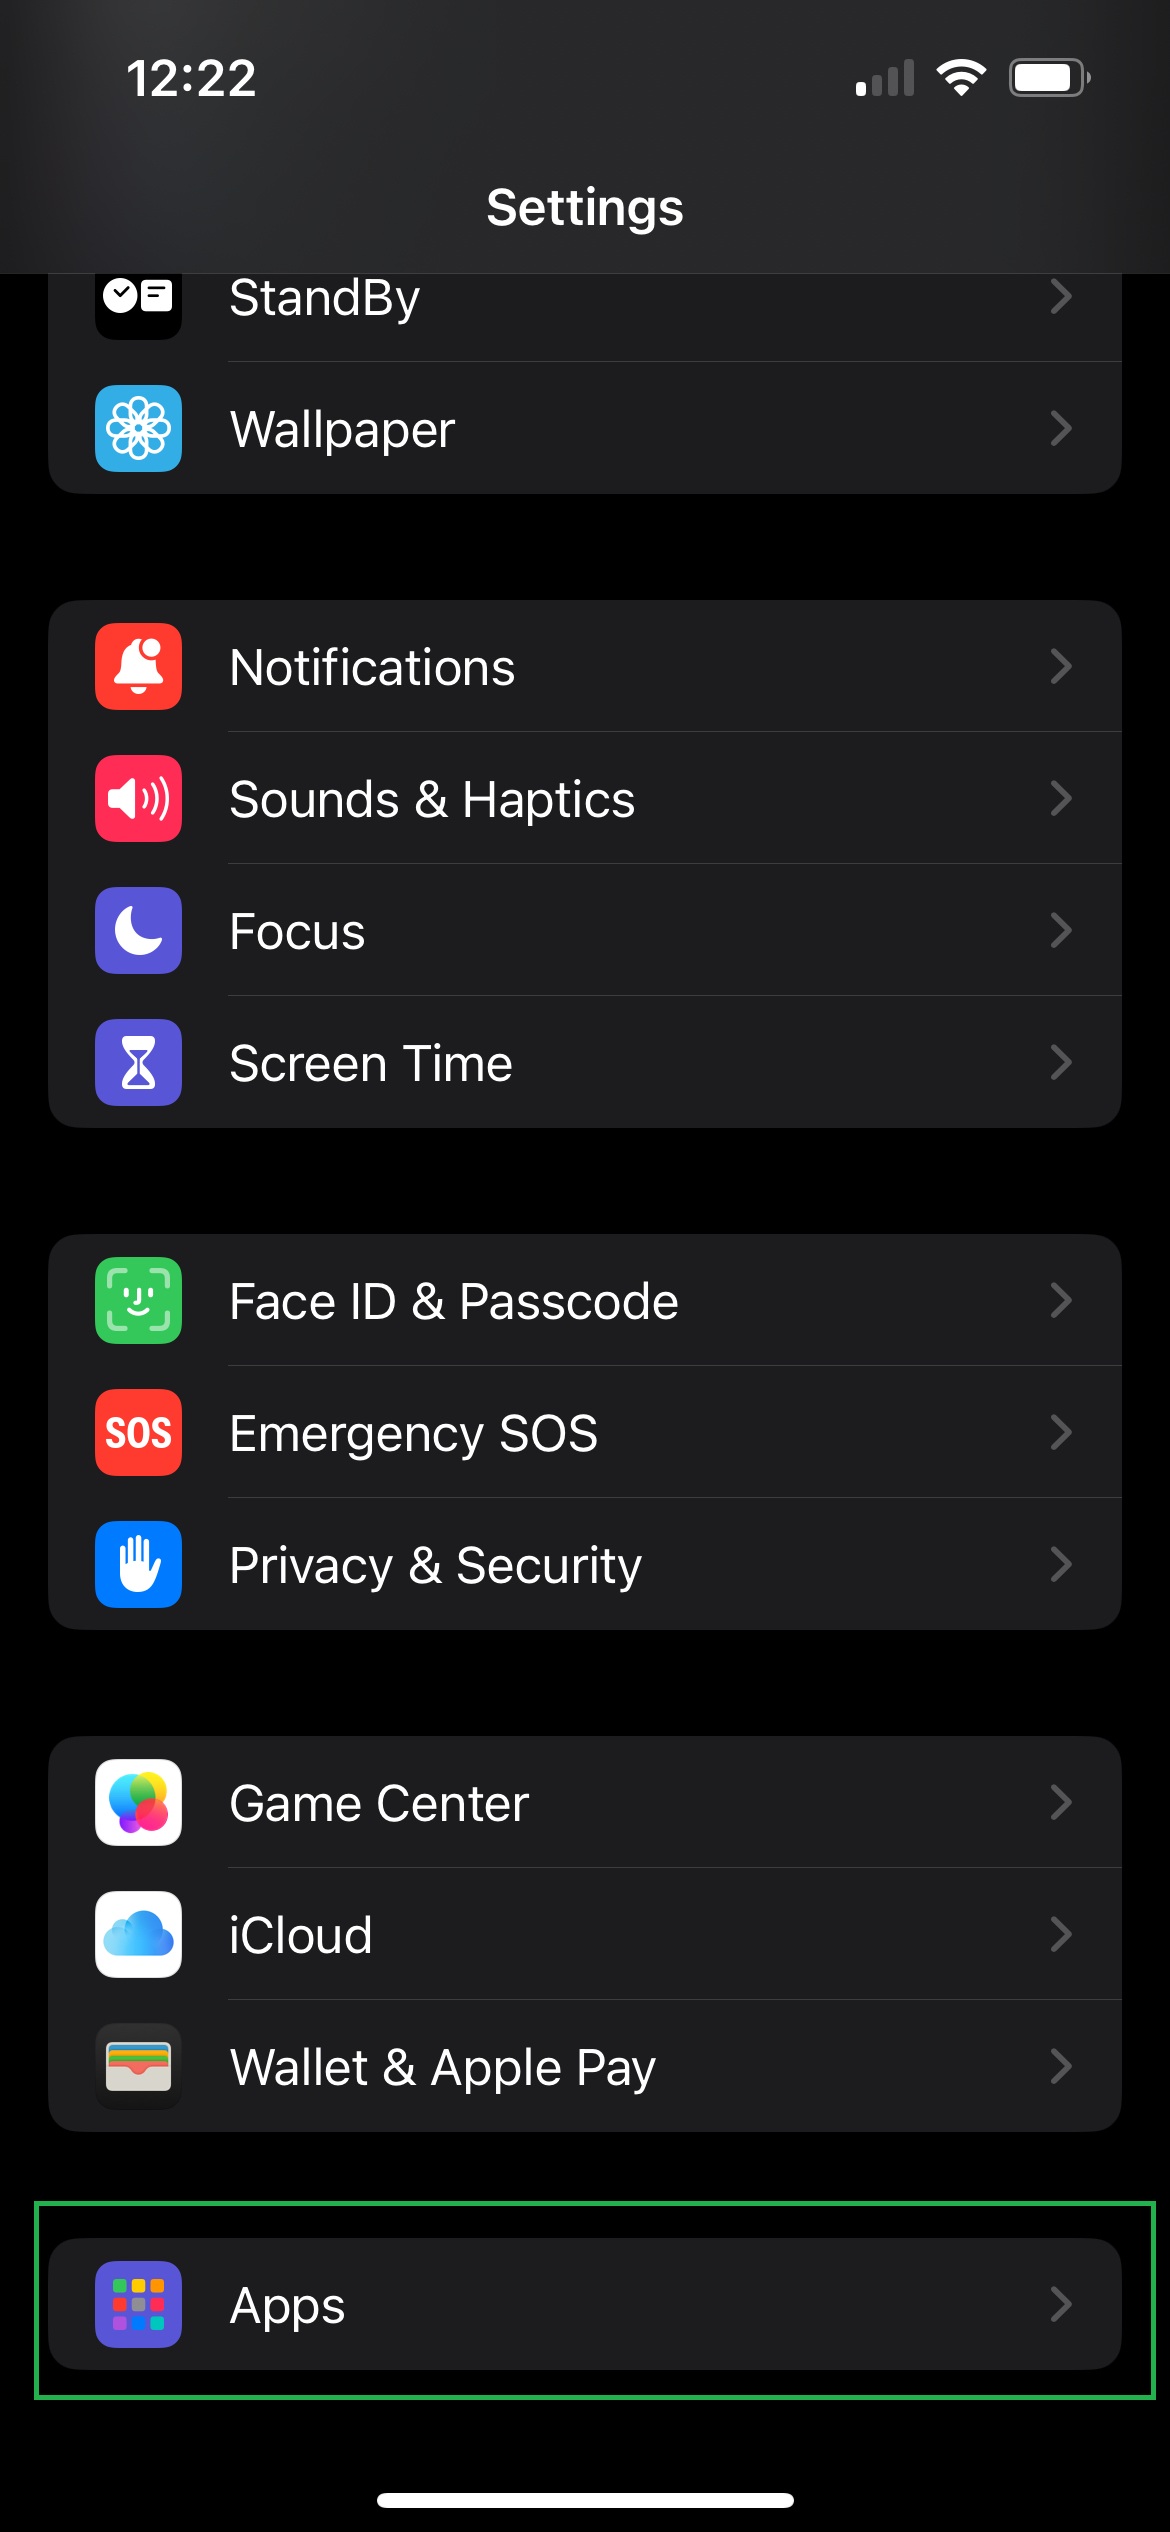
Once in Settings Scroll down to Apps.
Step 3: Mail
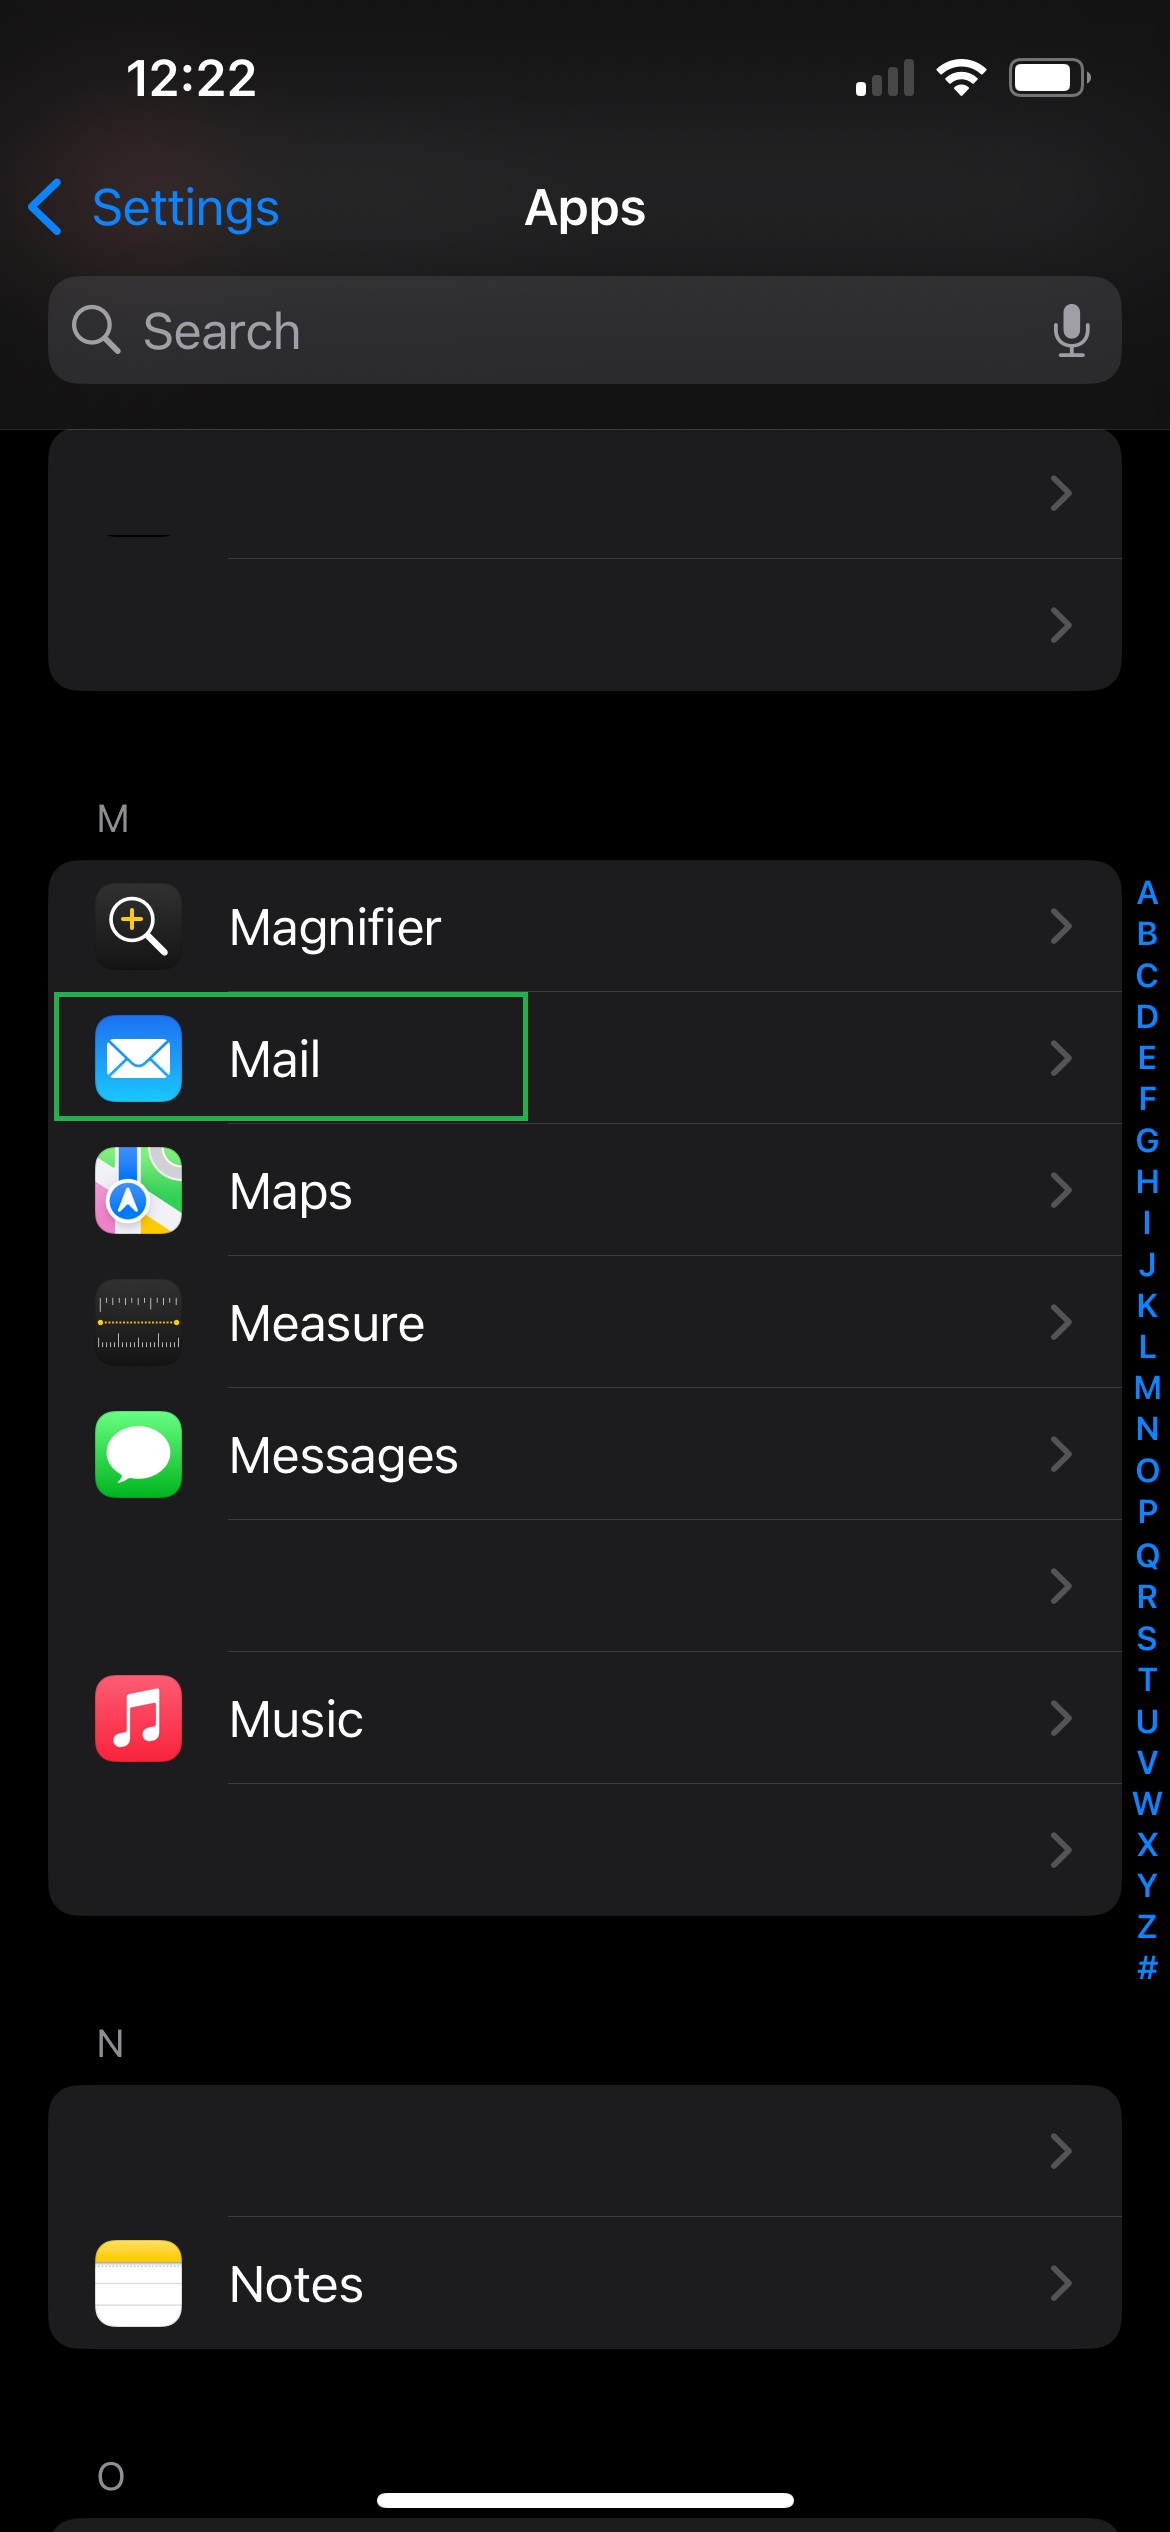
Once in Apps scroll down until you find Mail (or use the search).
Step 4: Mail Accounts
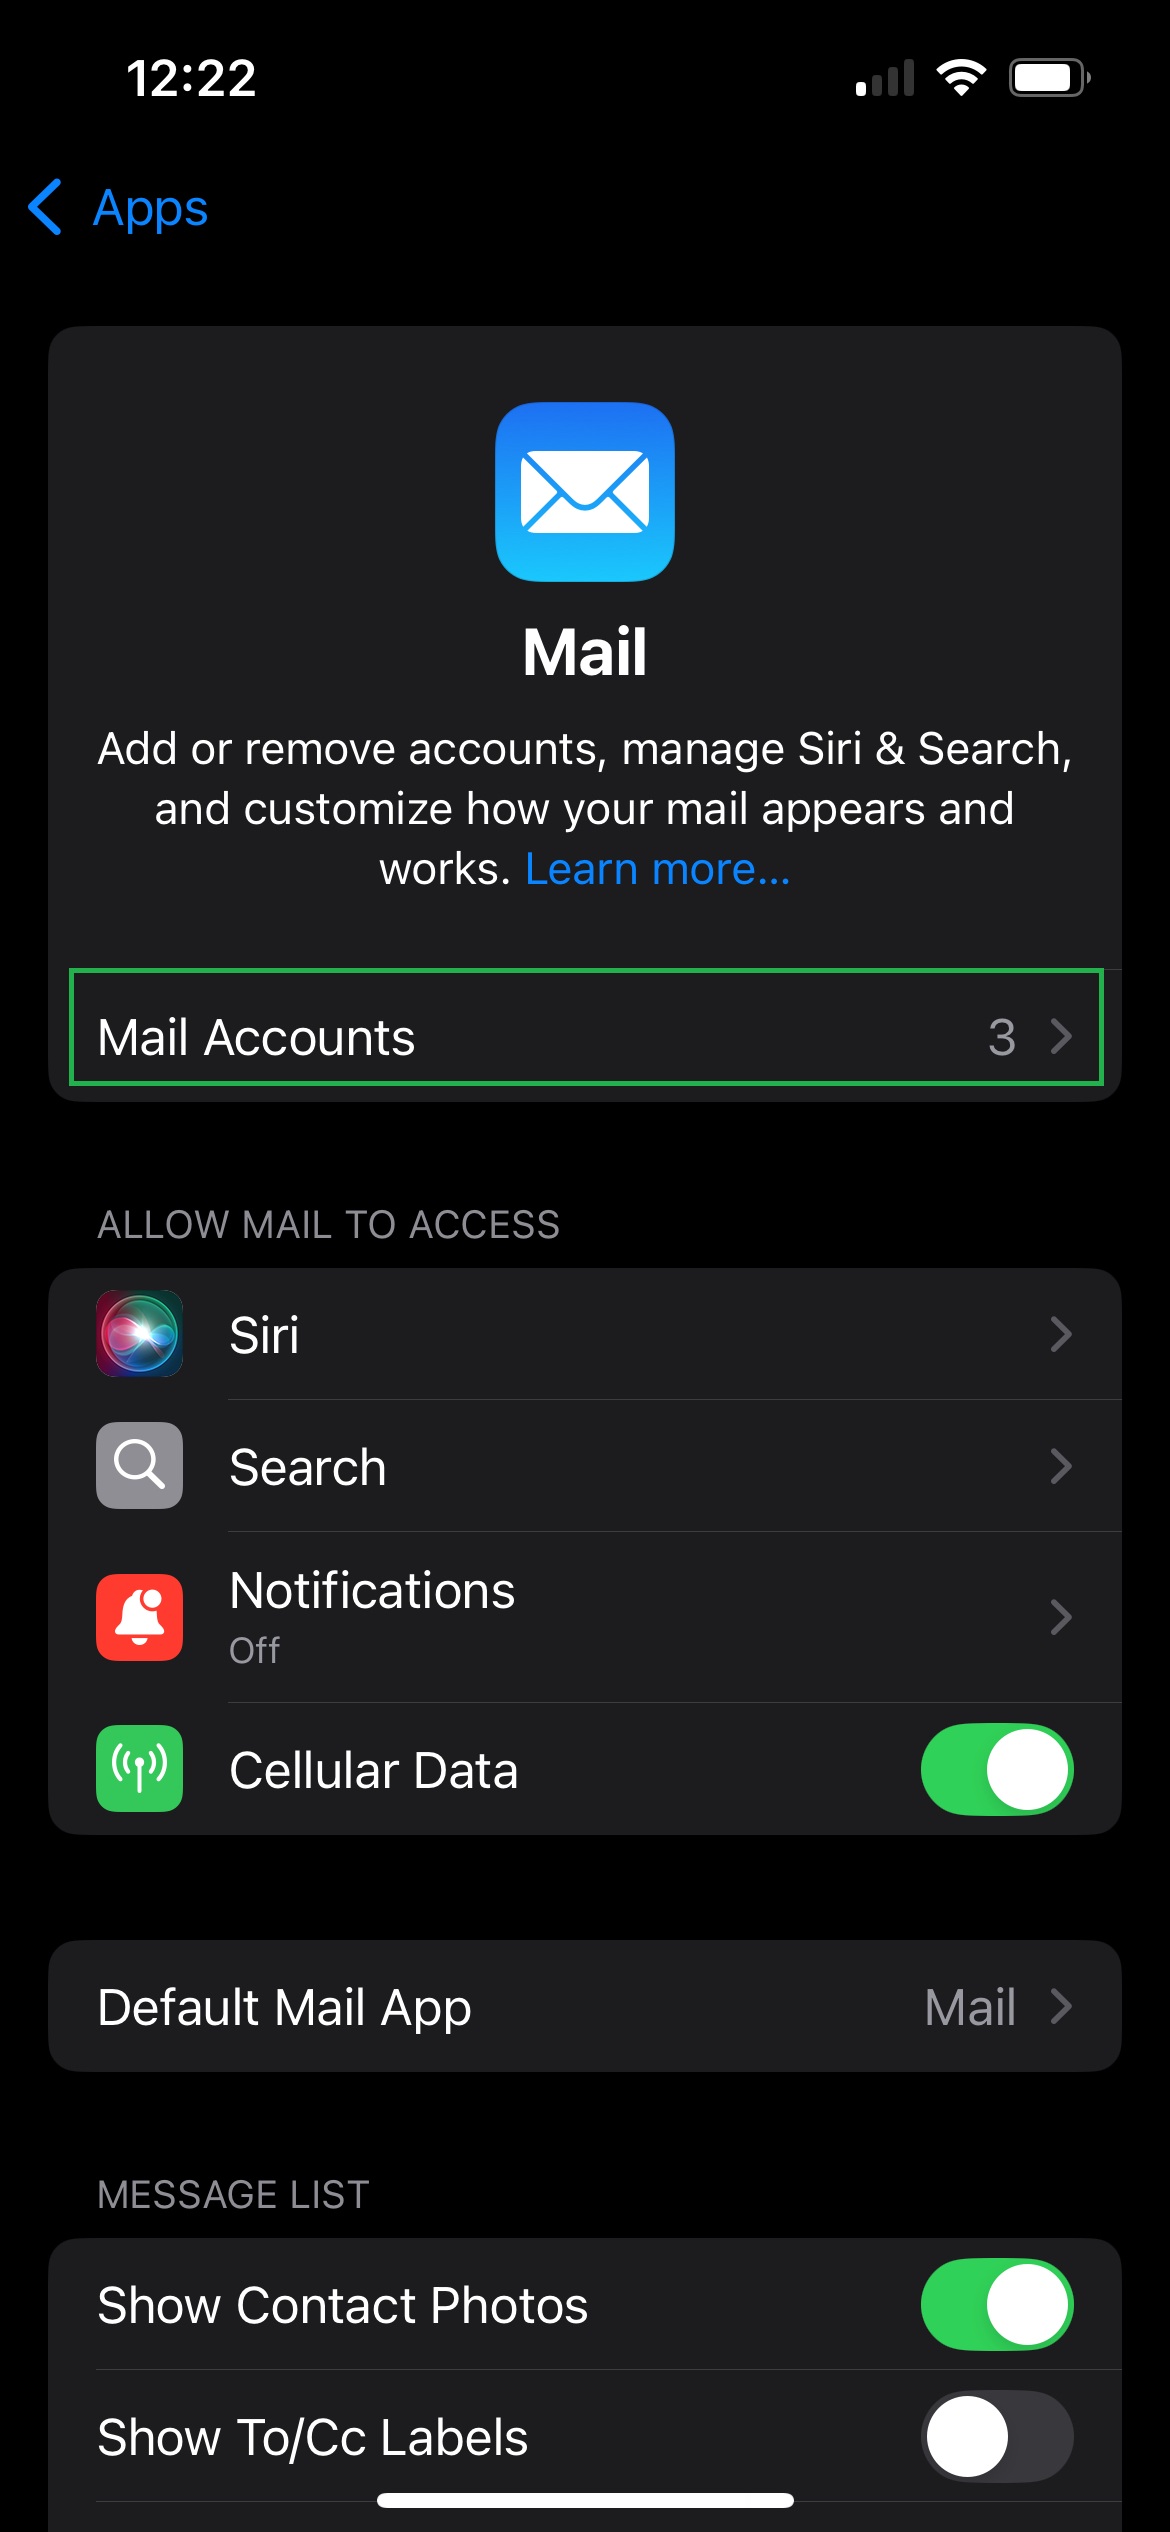
Under Mail click on Mail Accounts.
Step 5: Add Account
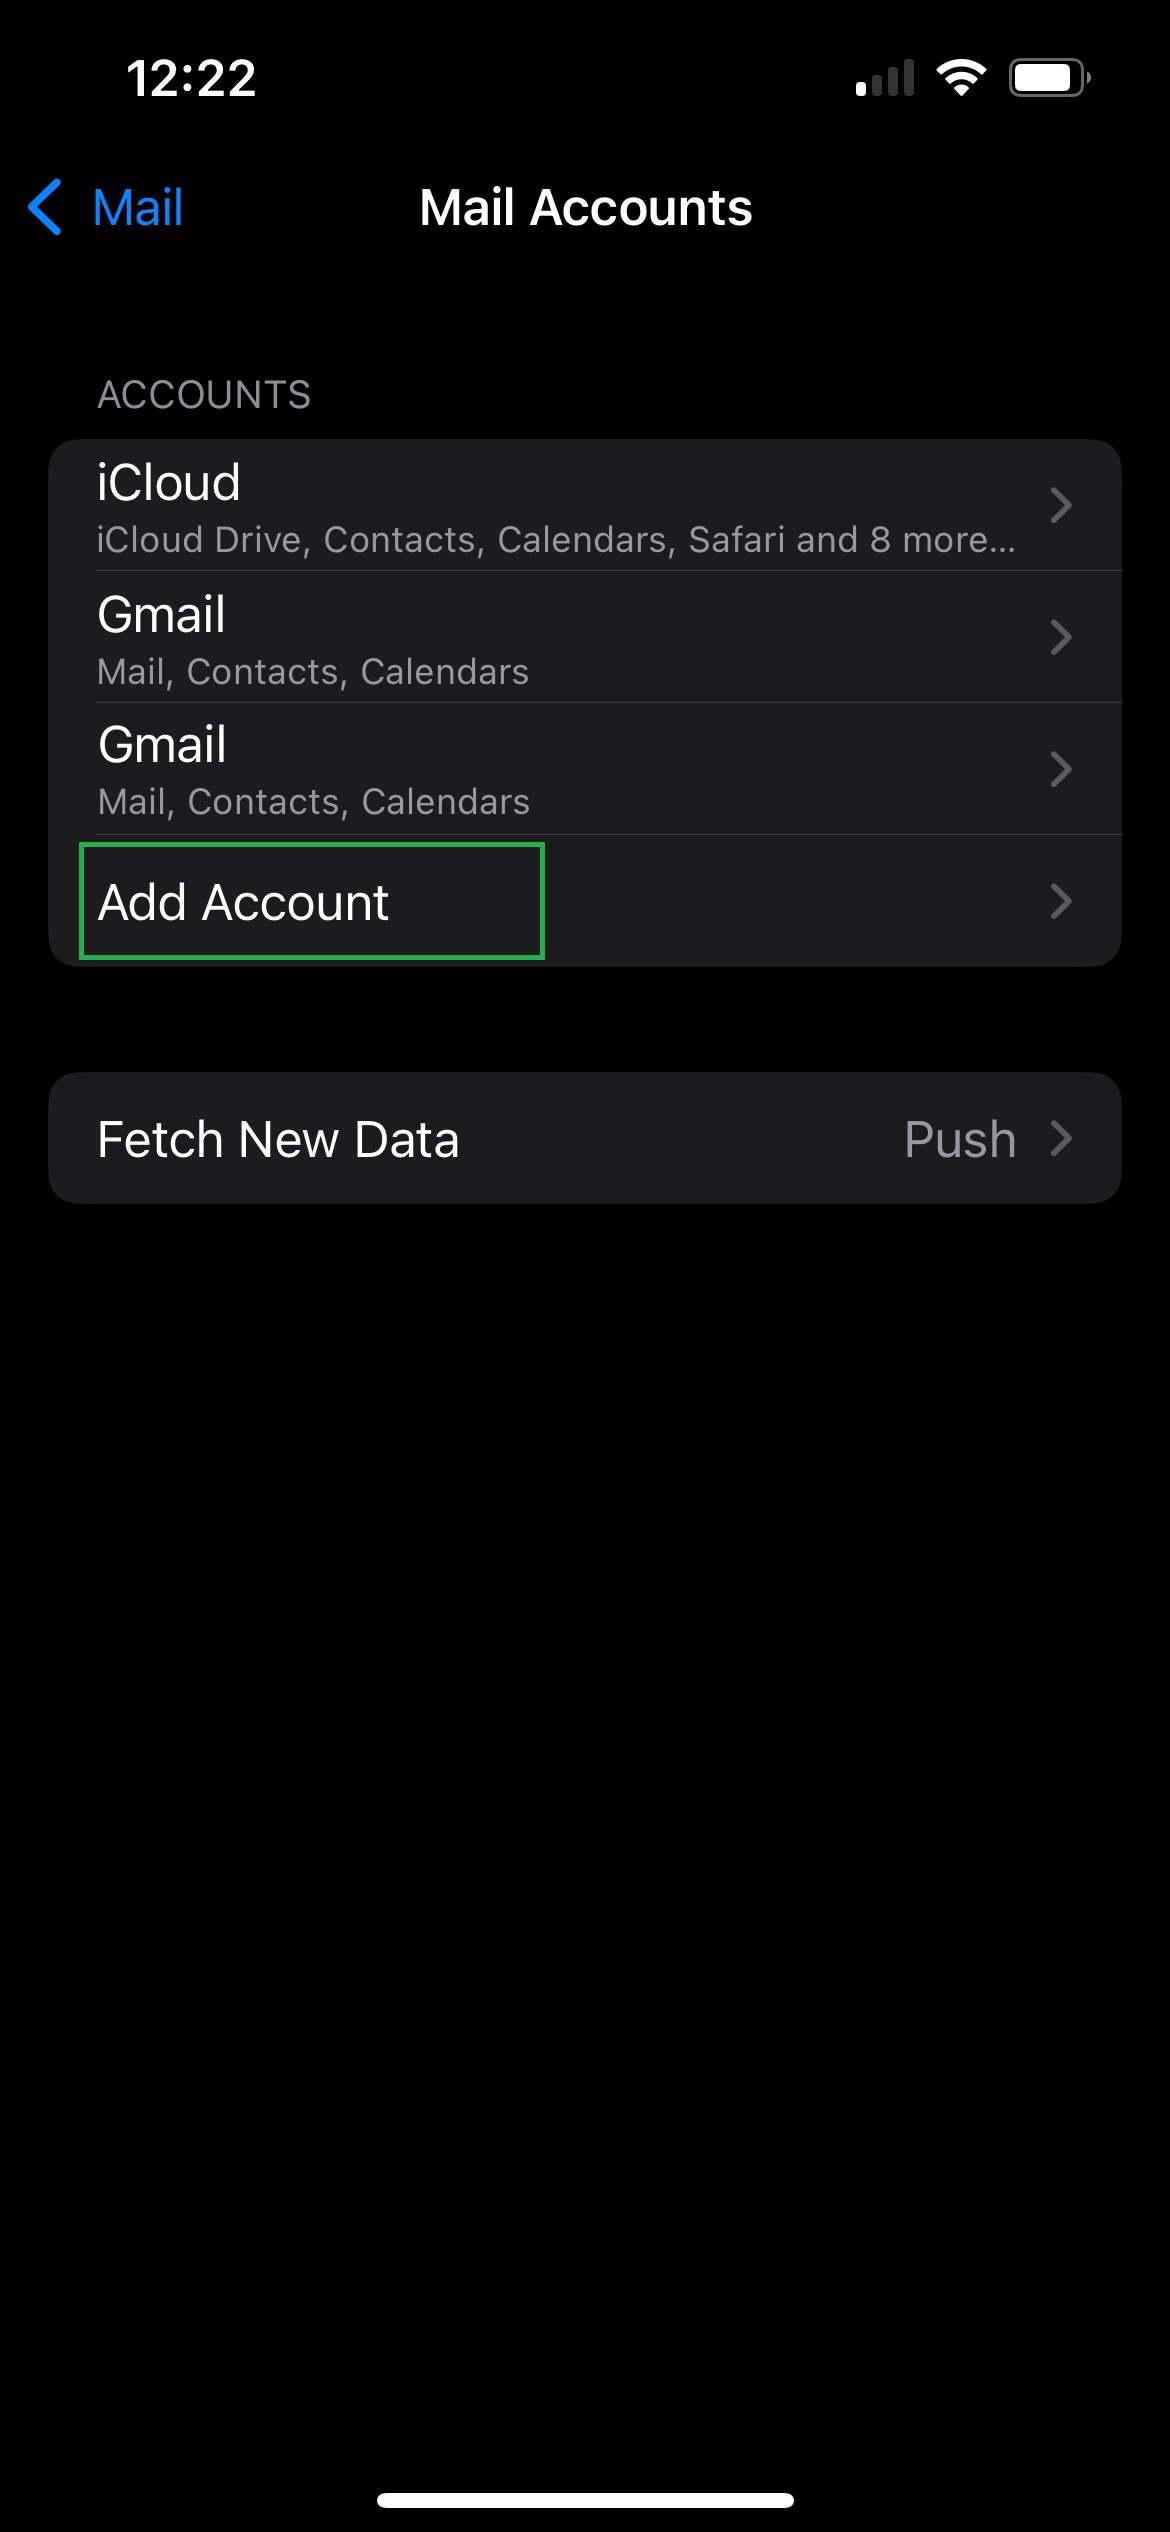
Under Mail Accounts Click on the Add Account option.
Step 6: Account Type - Other
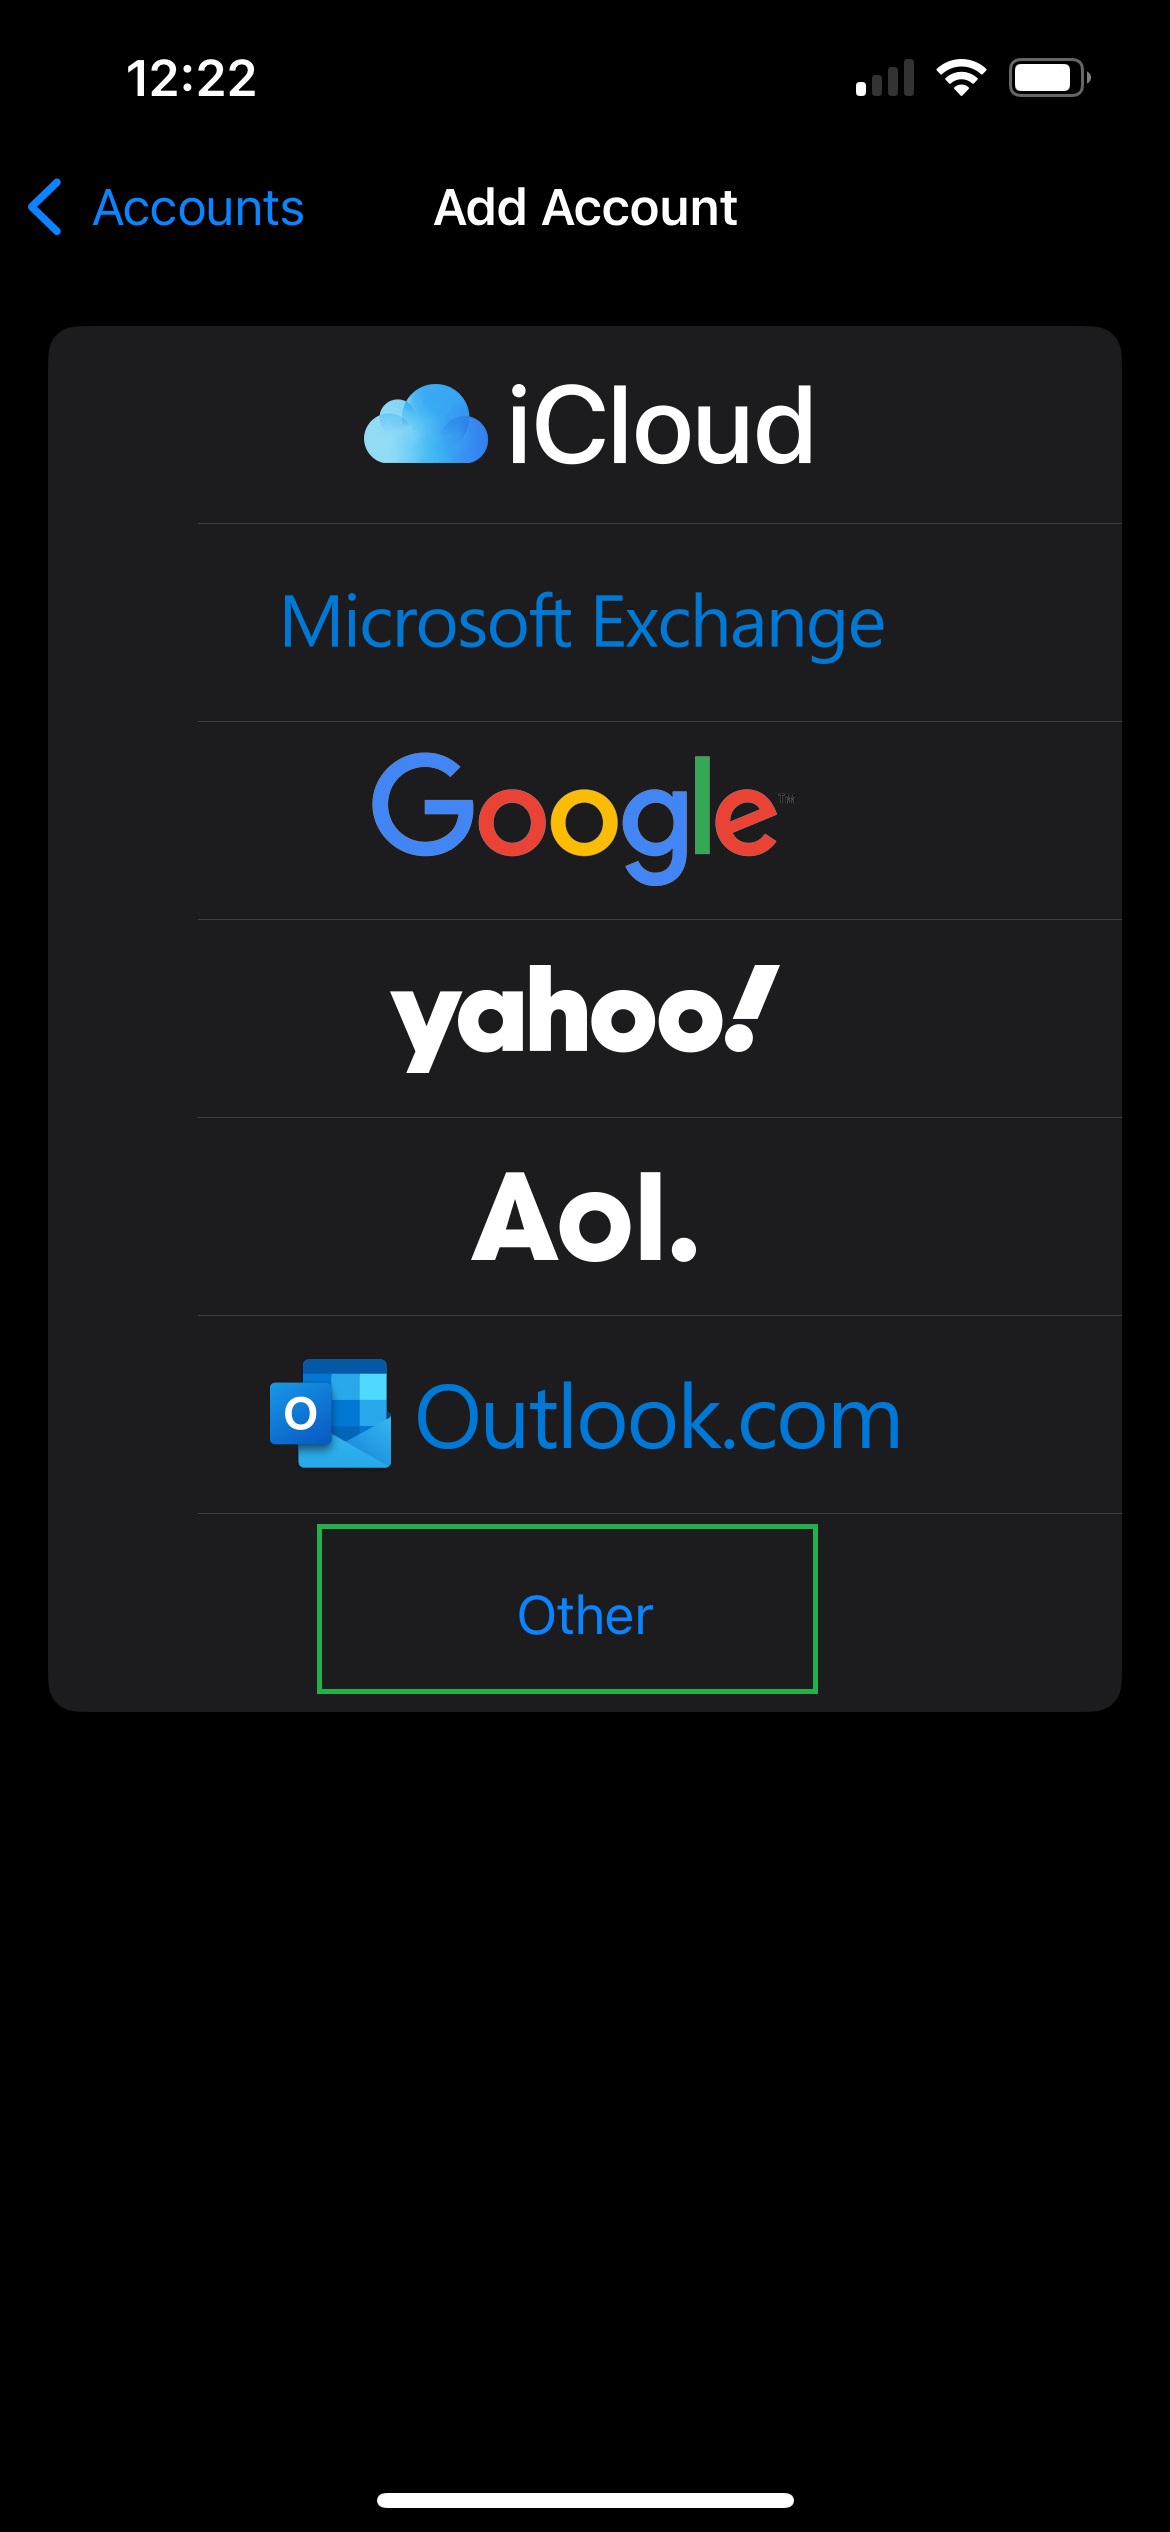
On this next screen choose Other.
Step 7: Add Mail Account
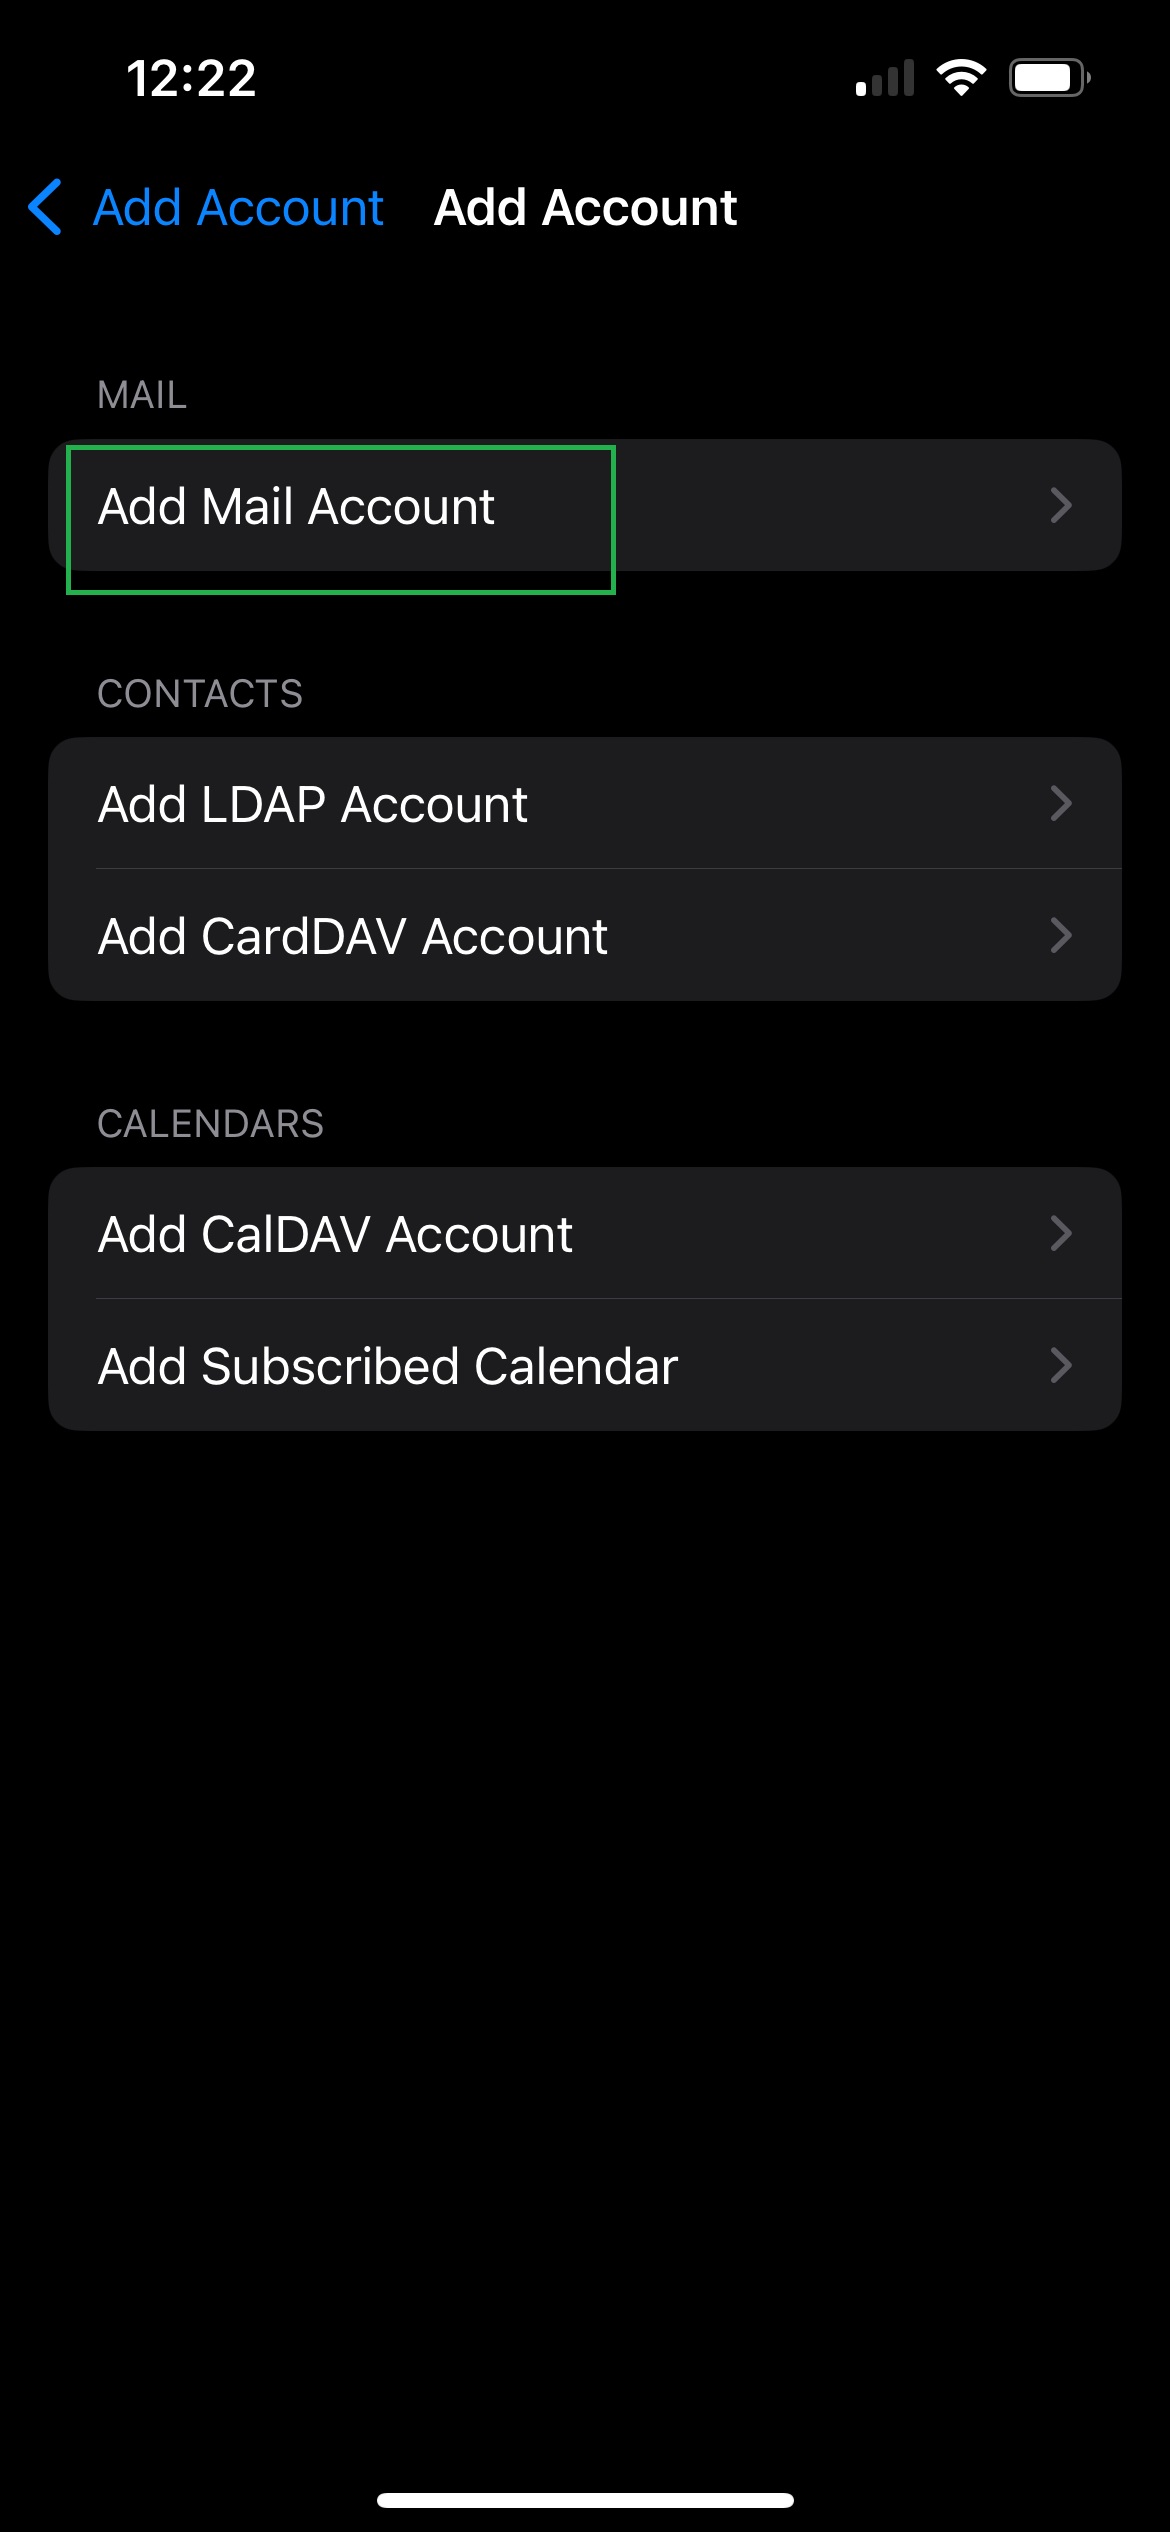
Under Add Account click on Add Mail Account.
Step 8: Account Details
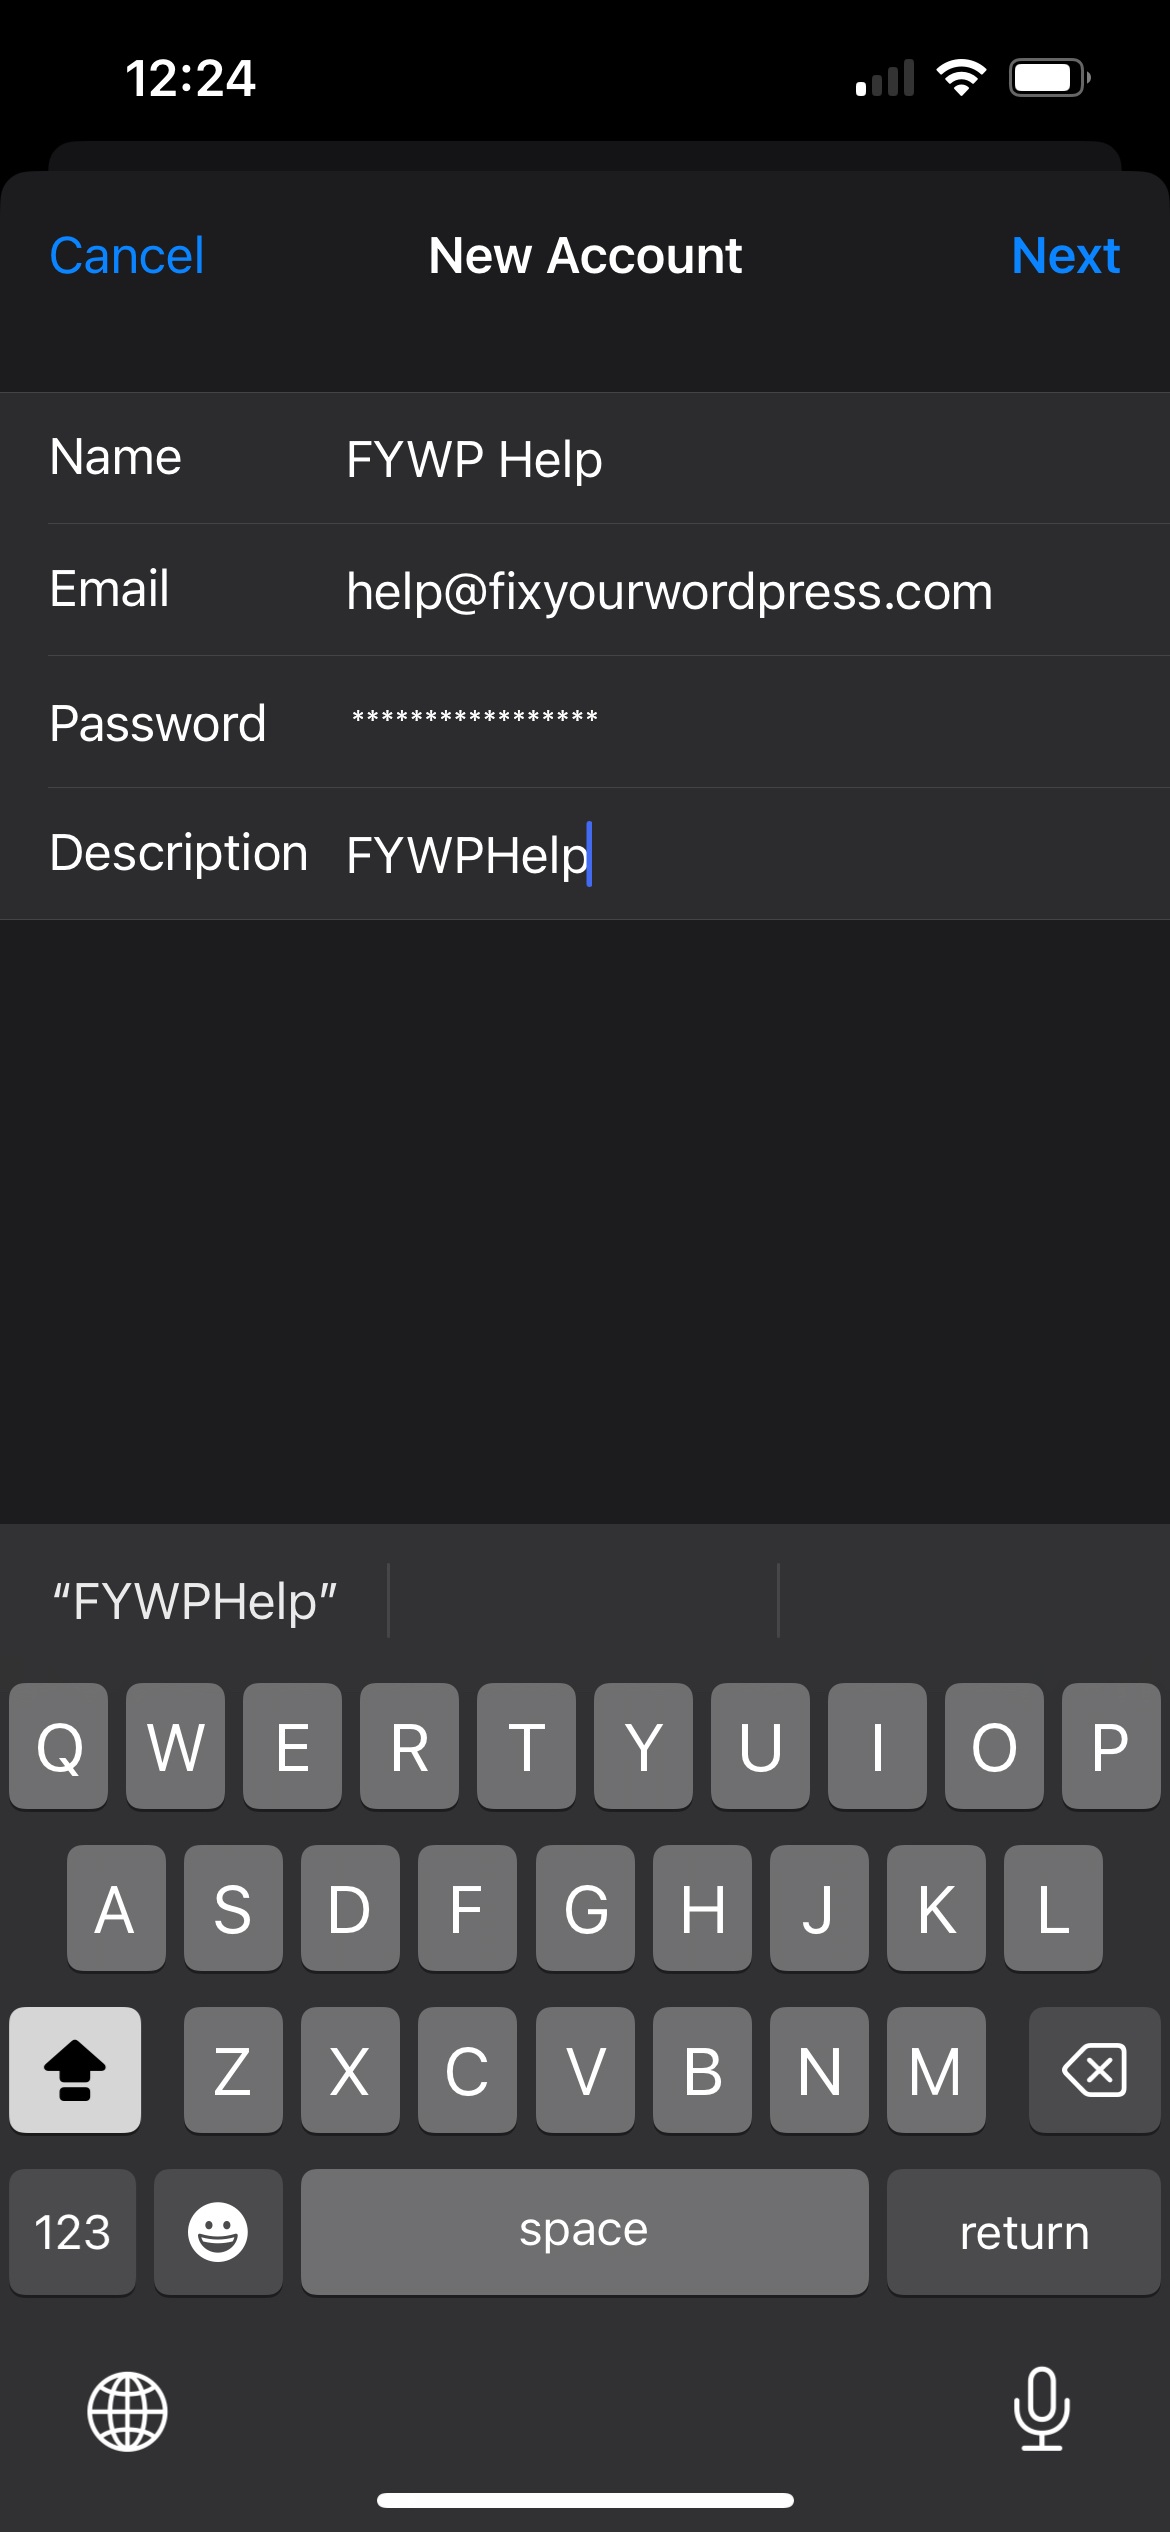
Enter your Account Details and click Next in the top right.
NOTE: You can get these settings from your hosting provider if you do not have them already. If you do not have your E-Mail Account Password you will need to also request assistance from your WebHost to reset it.
Step 9: Full Account Settings
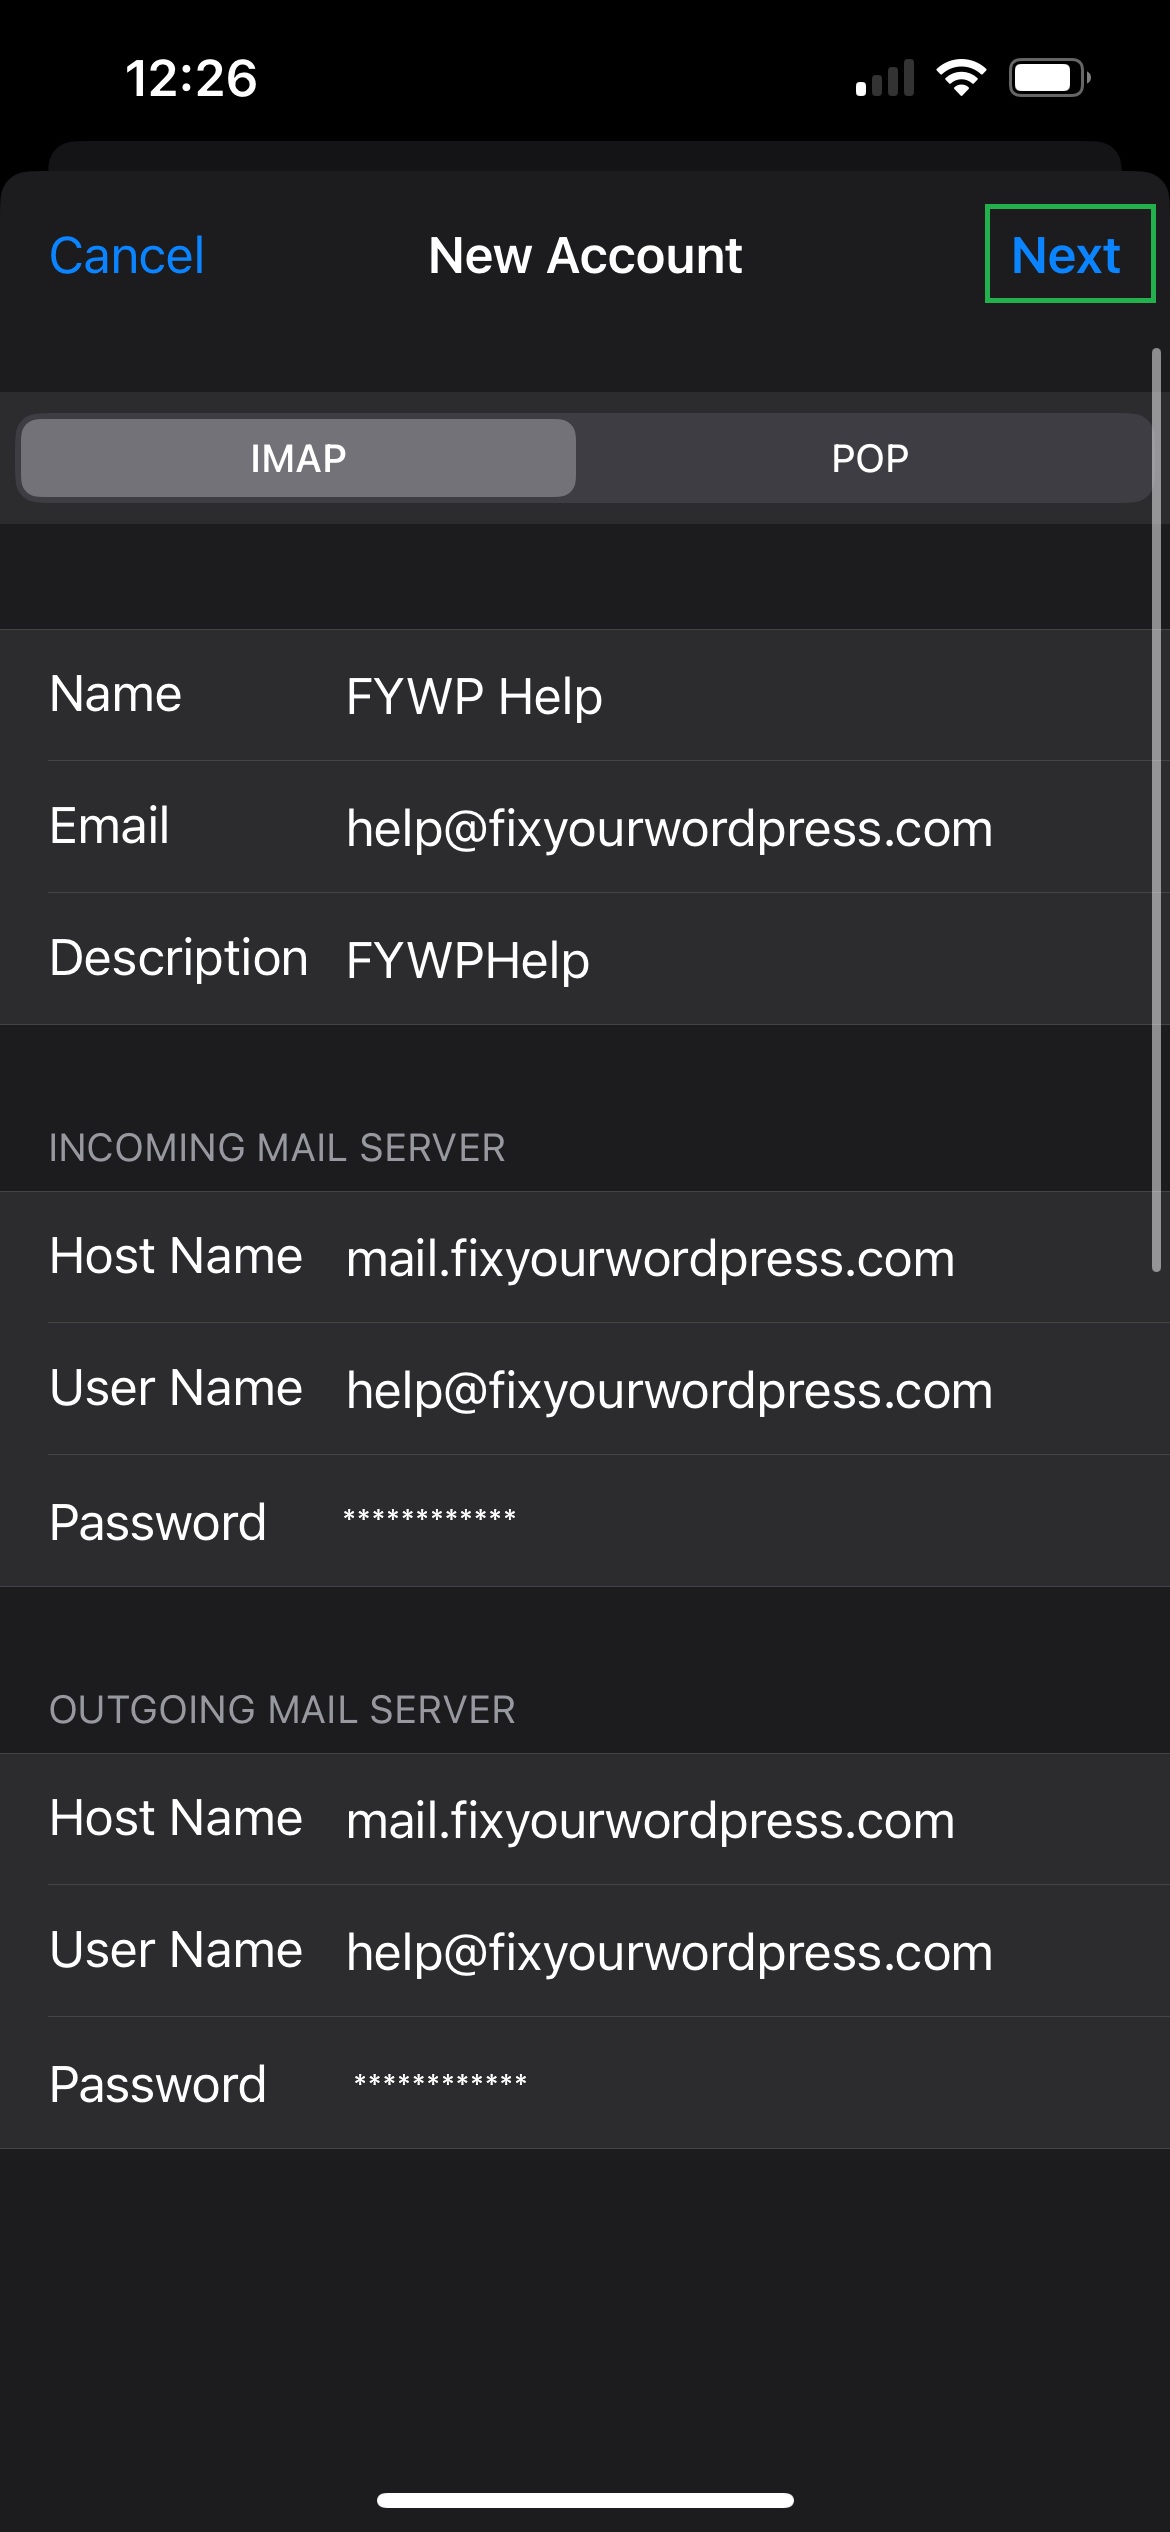
Ensure you have Your Account Information entered in to the Host Name, User Name, and Password fields.
Once you have ALL the Account Details entered, click Next in the top right corner.
NOTE: The outgoing server details may display as "optional". This is not the case and these are required by most servers to send authenticated mail.
Legend:
- Hostname: Your Mail server name, often this is a mail subdomain of your domain (Example: mail.fixyourwordpress.com)
- Username: Your Full email address (Example: help@fixyourwordpress.com)
- Password: Your E-Mail Account Password
Step 10: Verify
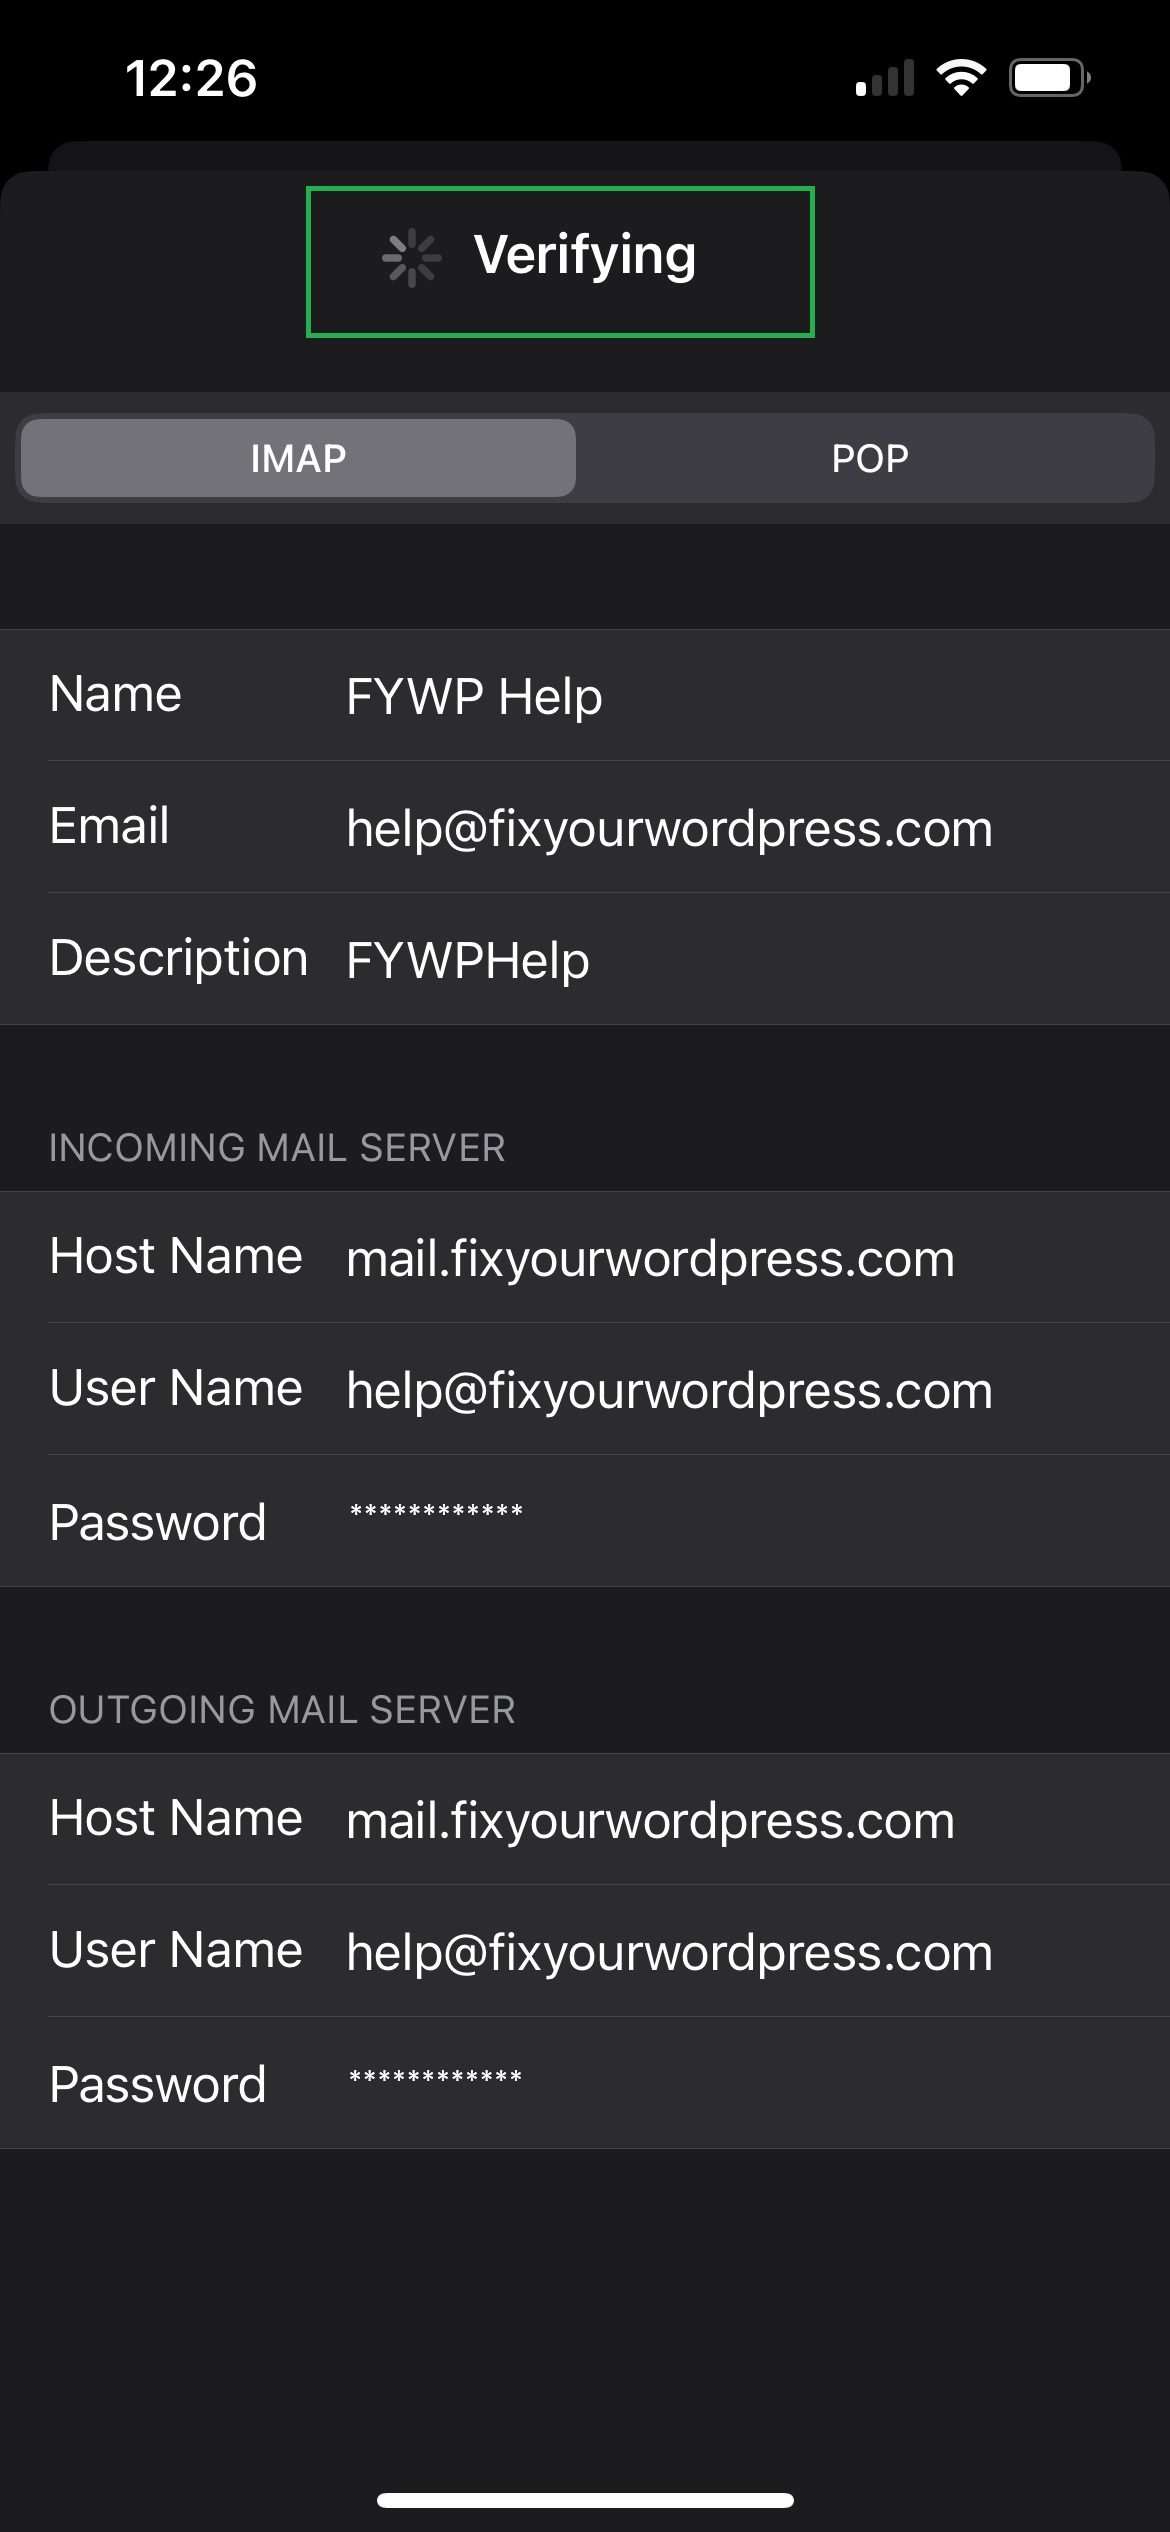
Once you click Next your email settings should begin to Verify.
Step 11: One More Step!!
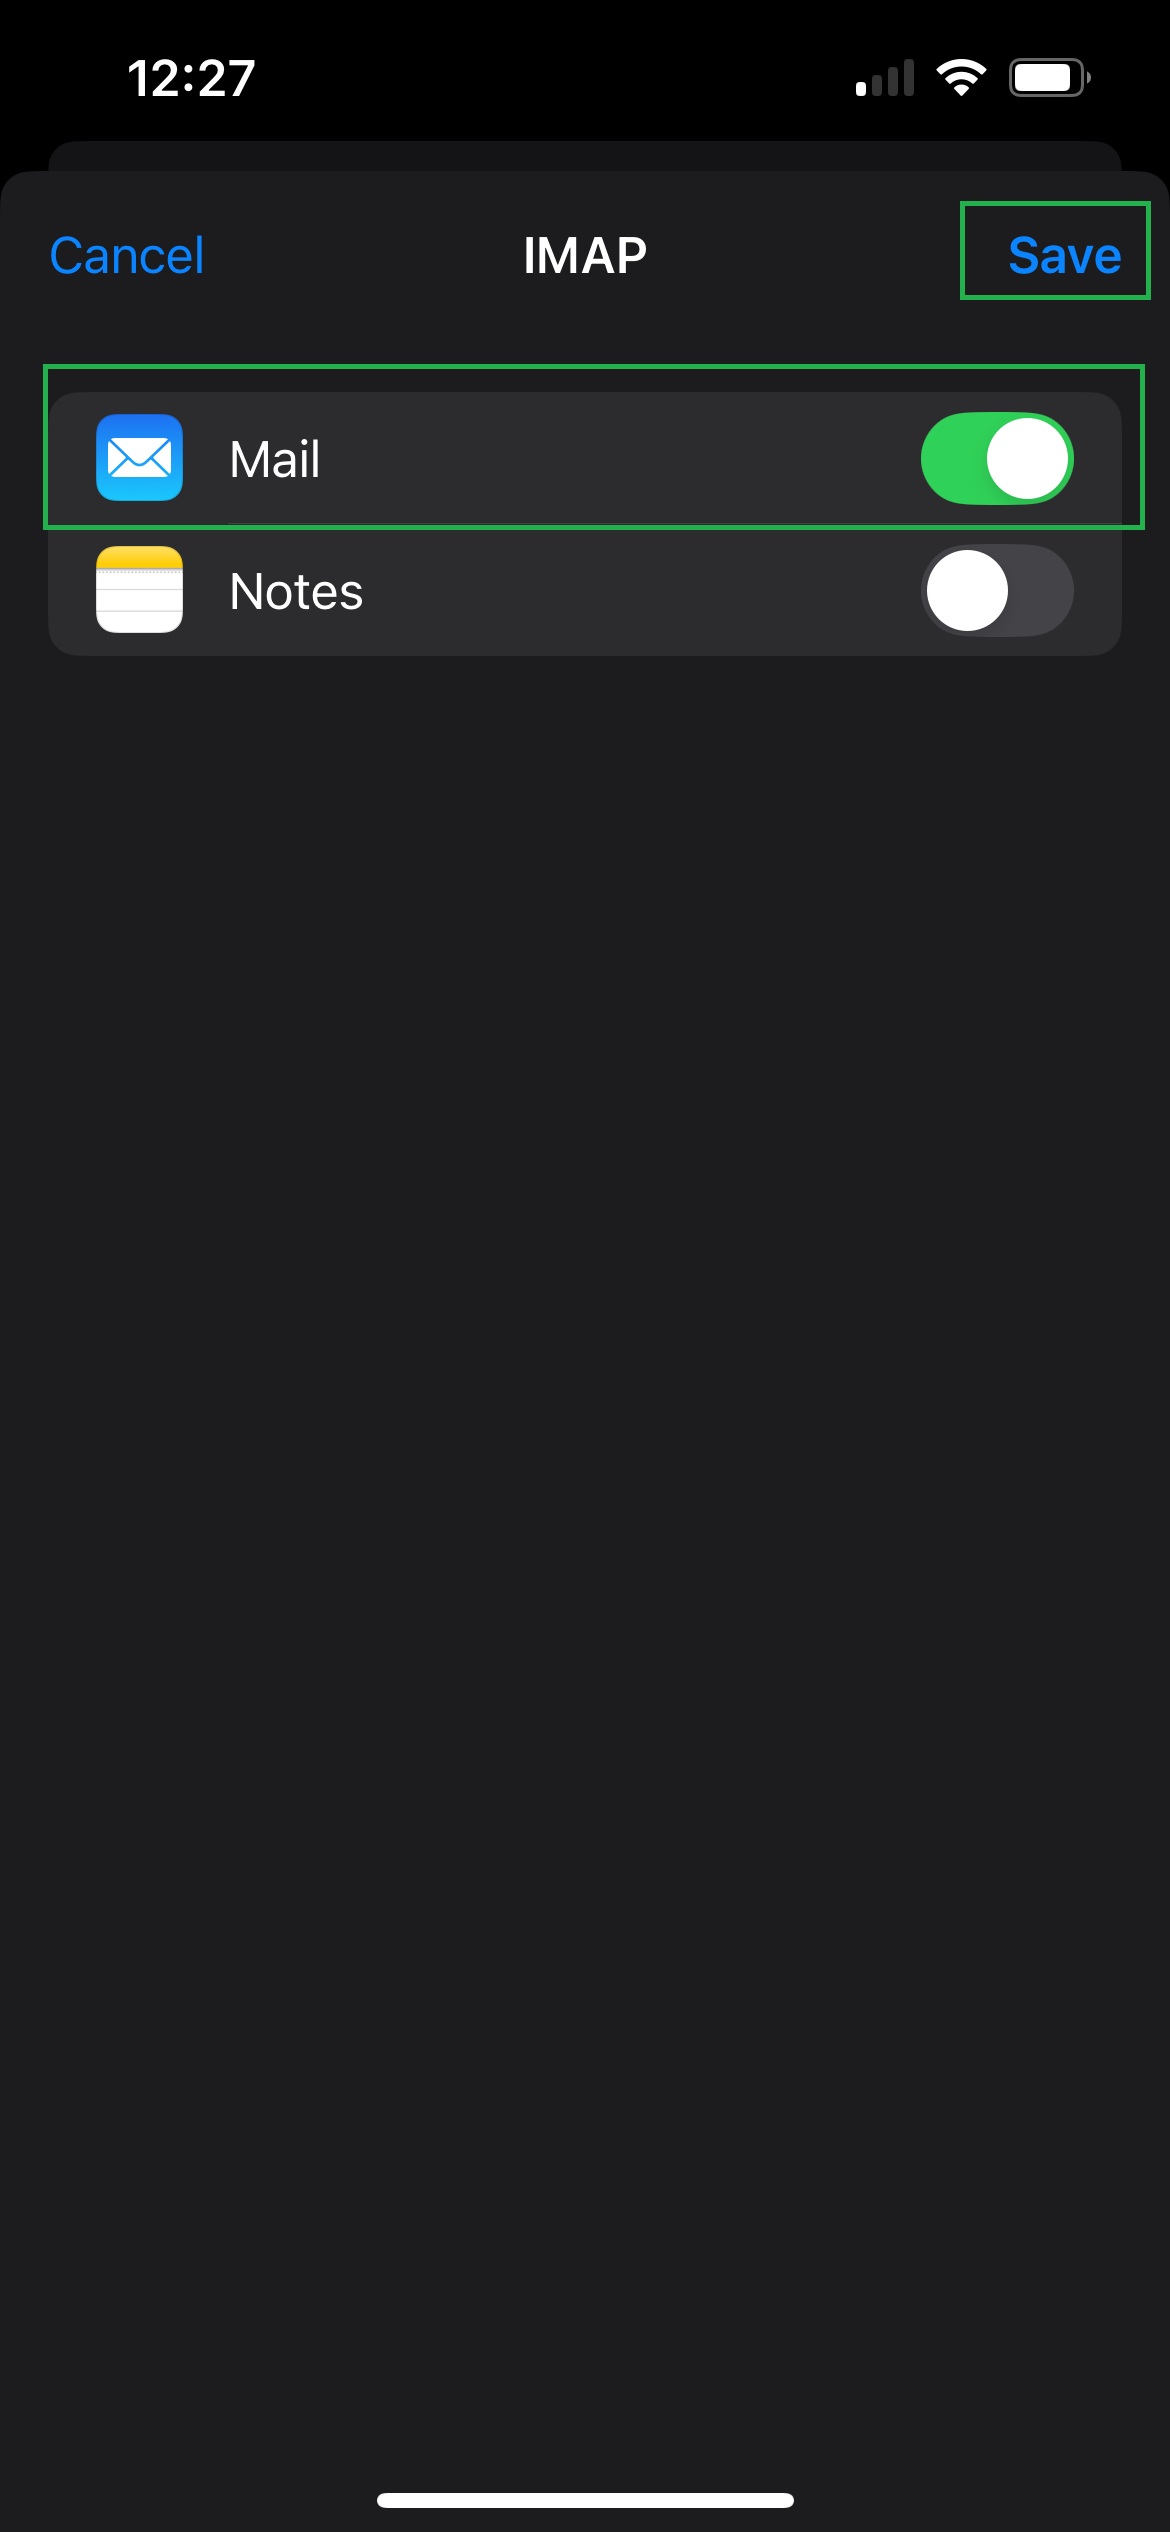
Once Verified you will have options to Enable/Disable Mail and Notes, ensure your Notes are disabled but Mail IS enabled.
Step 12: You Made It!!
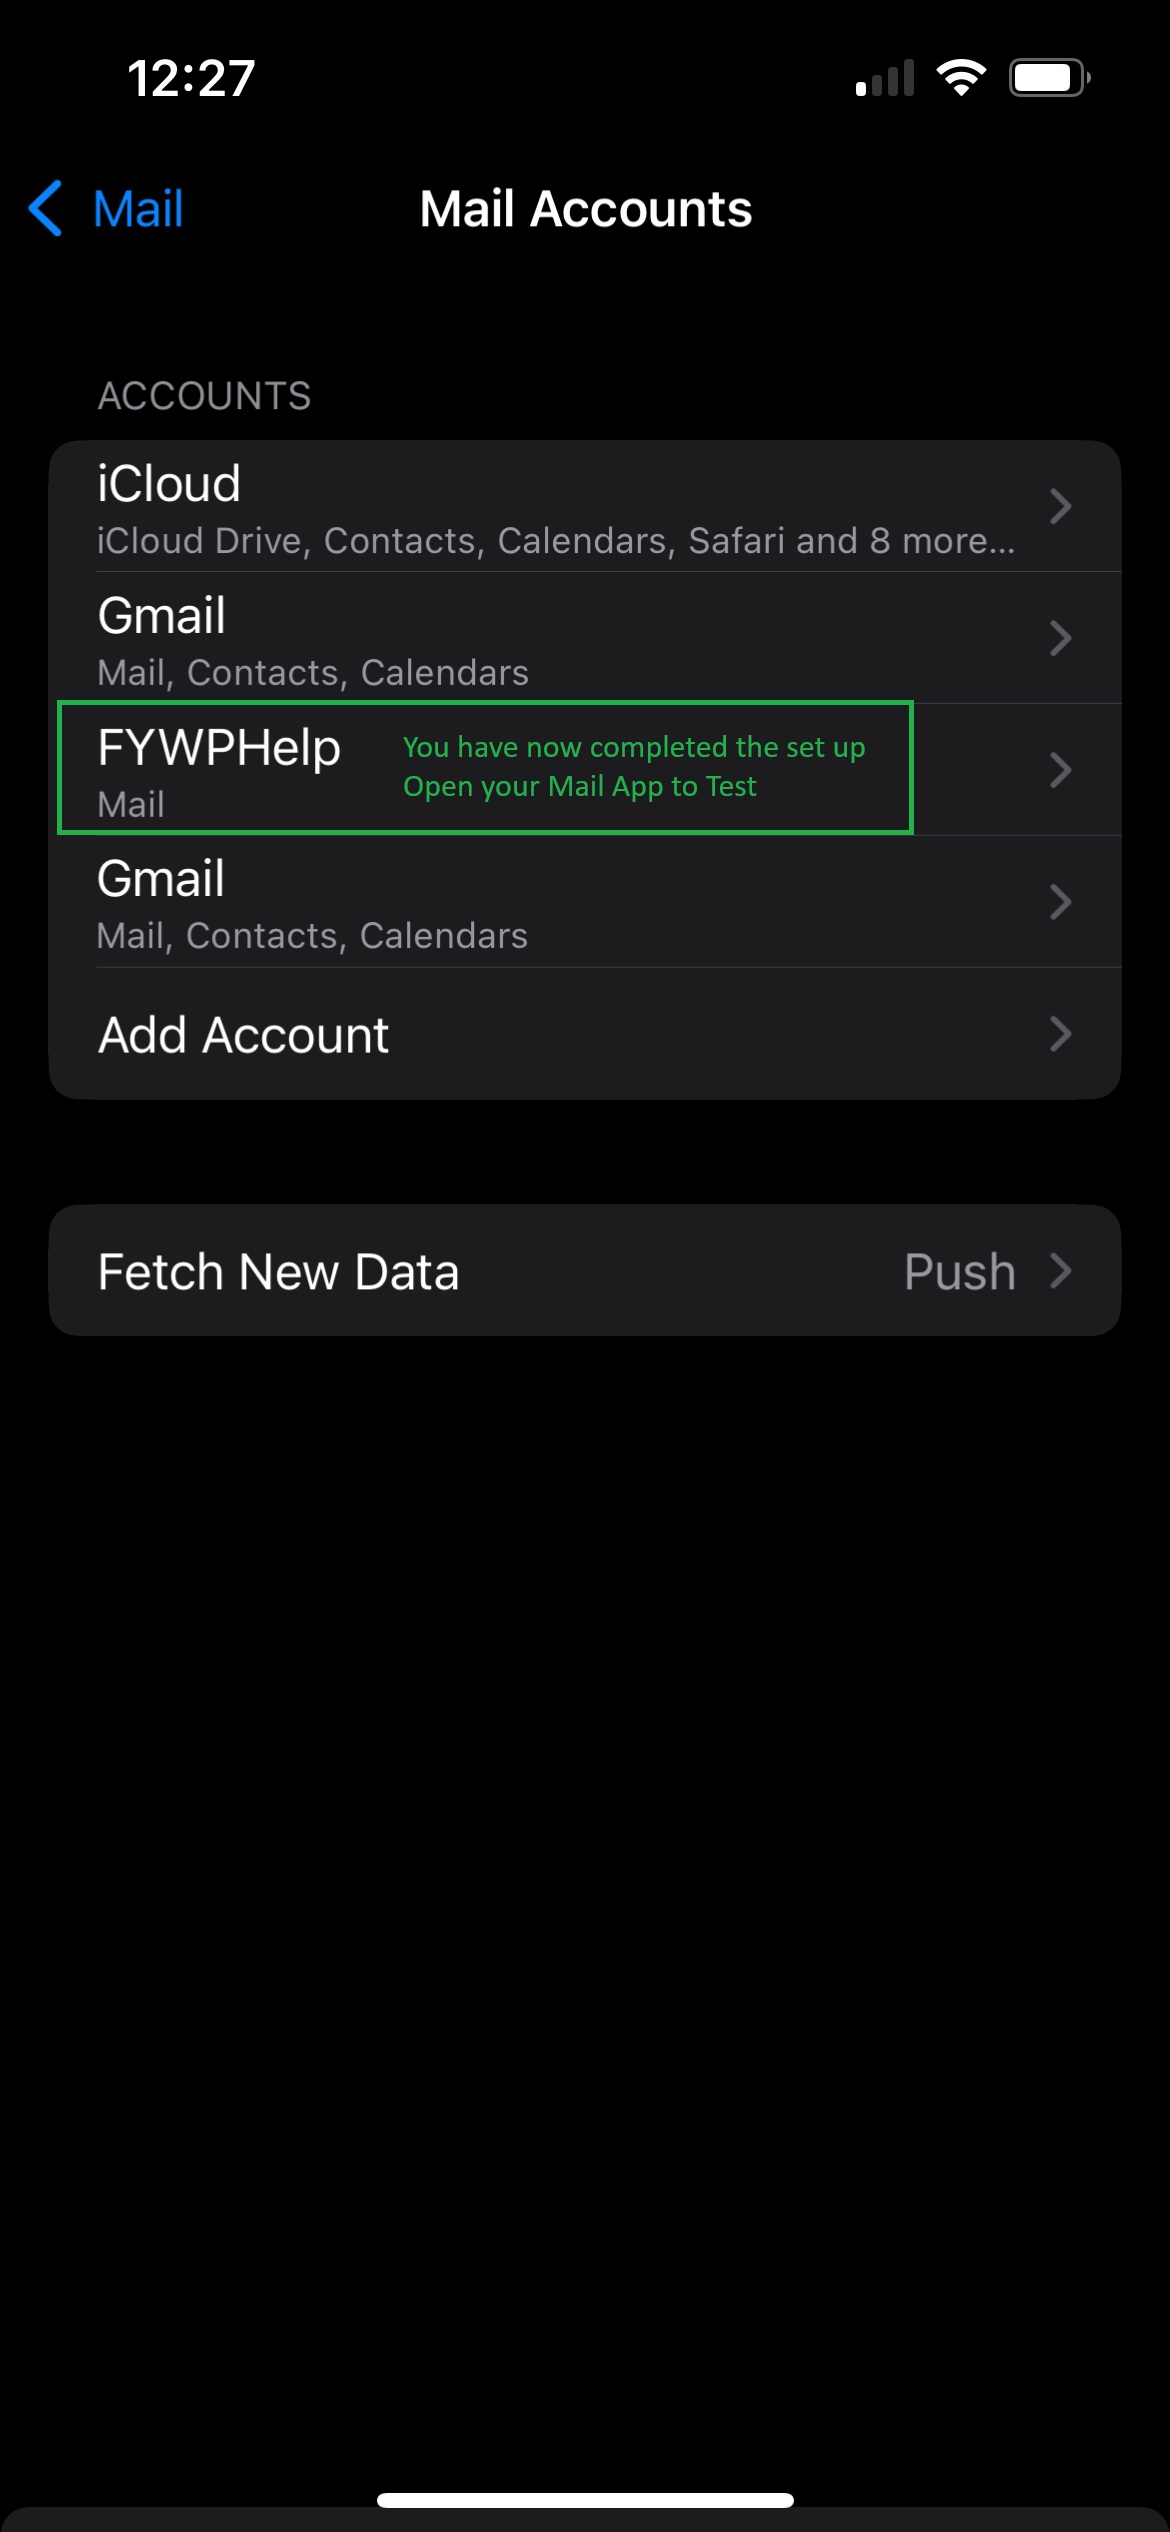
Job Well Done!! Once Saved, you will return to a list of your E-Mail Accounts and you should see your newly set up account listed.
Congratulations! You can now exit the Settings App (Swipe Up) and open up your Mail App. You should now see your email starting to appear/download.