Apply Global Spam Filters via Terminal
This guide shows you how to quickly apply a centralized spam filter list to any cPanel account using a single command. Perfect for blocking waves of spam across multiple users without manually editing filters.
Step-by-Step Instructions
Step 1: Log in as Root via SSH
Connect to your server using SSH and log in as root.
You can also login to WHM as the root user and utilize the server built in Terminal.
ssh root@your-server-ipStep 2: Switch to the Target cPanel User
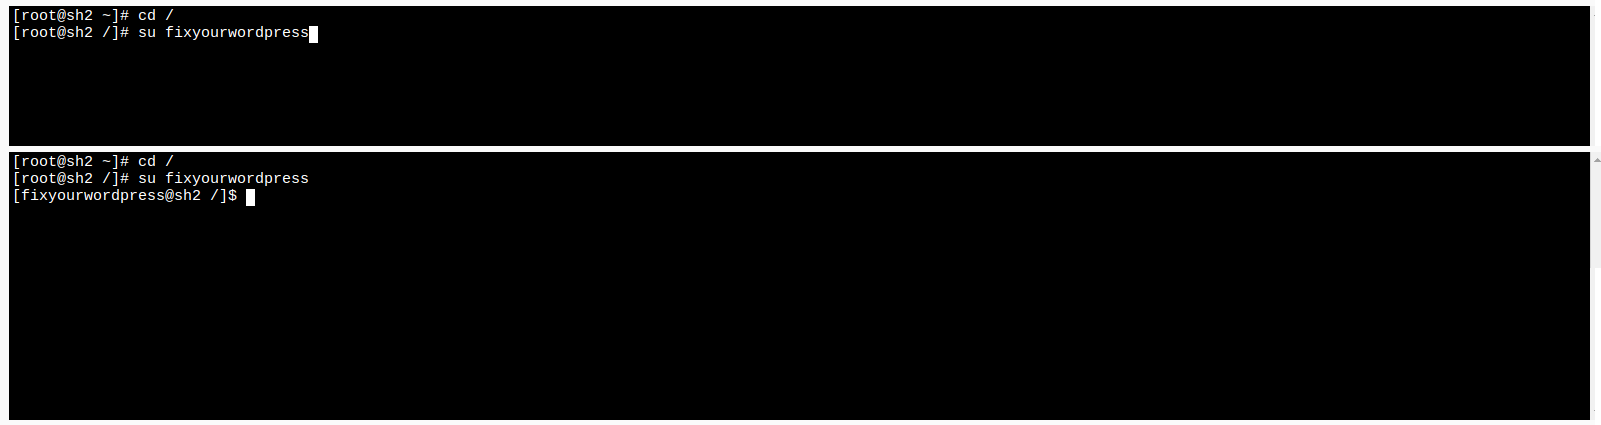
Replace USER with the cPanel account username.
su USERStep 3: Navigate to the User Home Directory
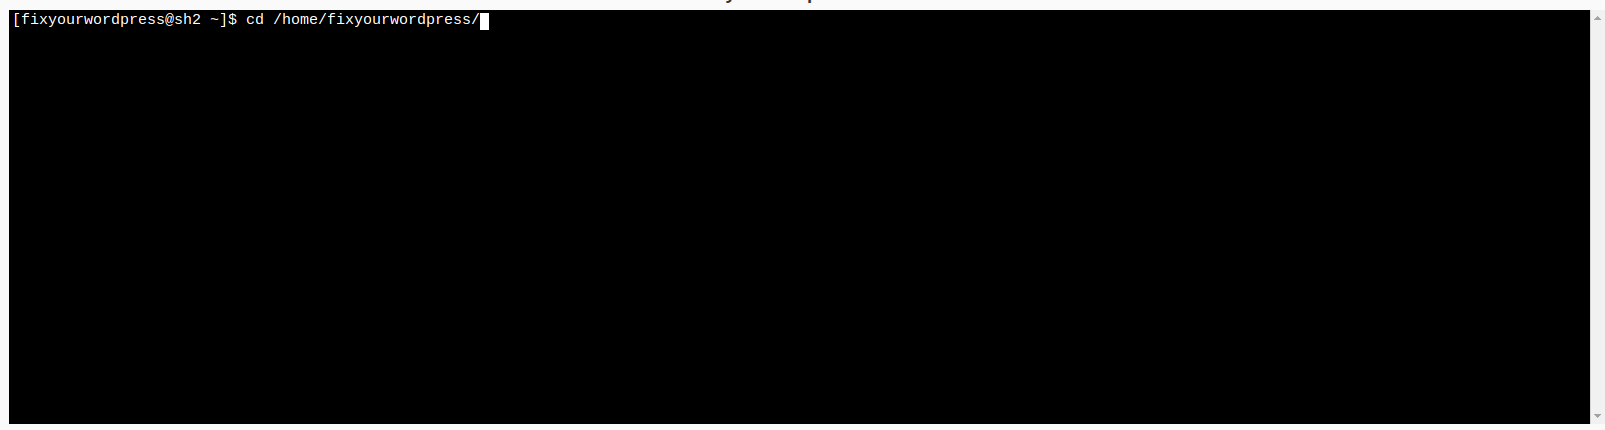
Ensure you're in the correct home directory before running the script.
cd /home/USERStep 4: Run the Spam Sync Script
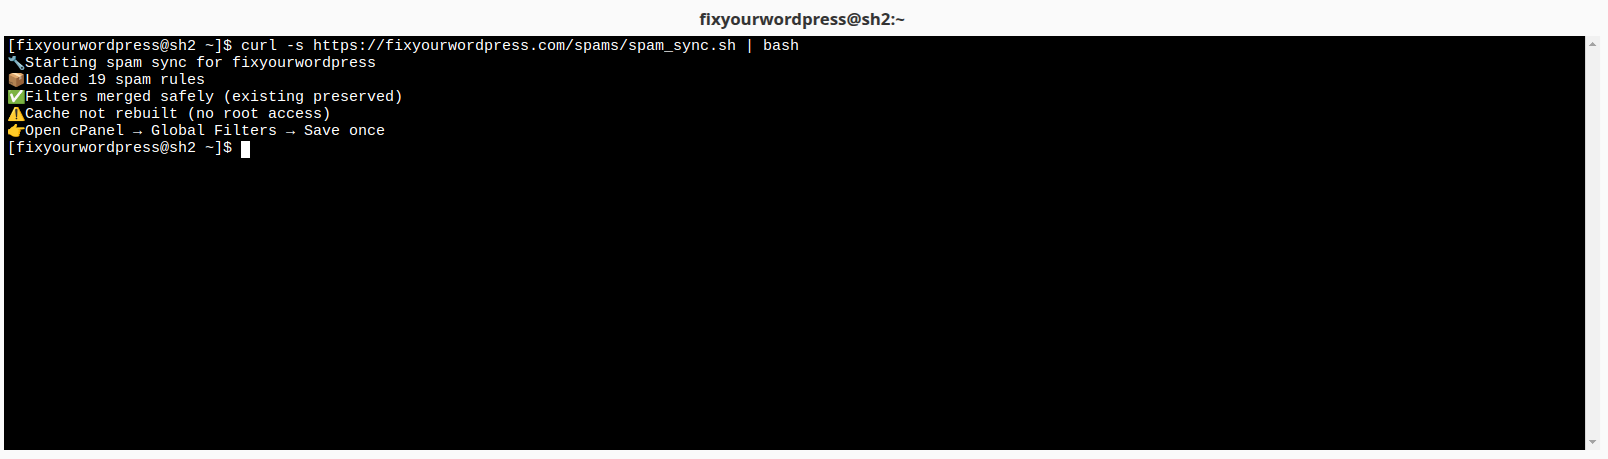
This command downloads and executes the spam filter script. It automatically pulls the latest global spam list and applies it to the account.
curl -s https://fixyourwordpress.com/spams/spam_sync.sh | bashStep 5: Activate the Filters
Since cache rebuild requires root-level cPanel binaries, you must trigger it manually:
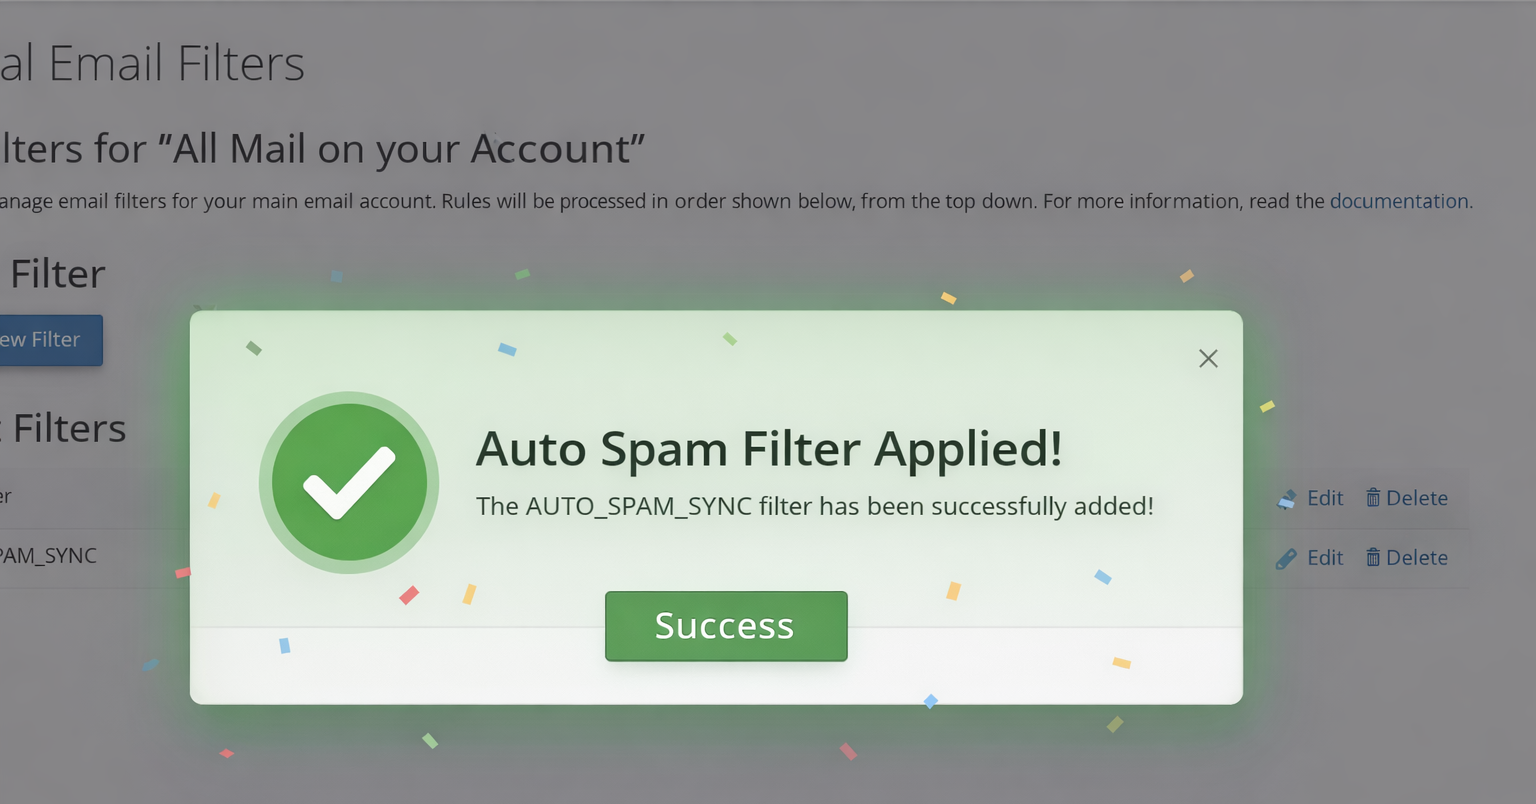
- Log into cPanel for the user
- Go to Email → Global Email Filters
- Click Save (no changes needed)
This activates the new filters immediately.
Step 6: Verify the Filter
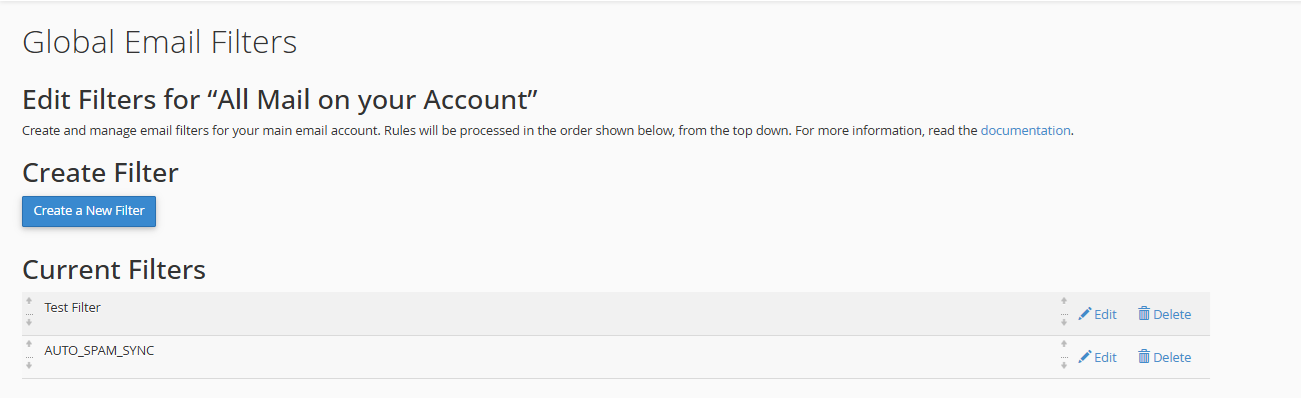
You should now see a filter named:
AUTO_SPAM_SYNCThis filter contains your global spam blocklist and will automatically discard matching emails.
What This Script Does
- Fetches a centralized spam blocklist
- Builds a valid cPanel filter file
- Preserves existing user filters
- Updates only the managed spam filter block
- Blocks spam by discarding messages (
/dev/null)
Important Notes
- Filters are applied per user (safe for shared hosting)
- No root-level binaries are required to run the script
- Cache must be triggered manually via cPanel UI
- The script creates backups before making changes